


In this tutorial we will see how to publish the Azure Predictive Experiment we have built as a Web Service.
Prerequisites
If you have your own Azure ML Experiment, great! If you don’t go ahead and check out the other two tutorials in this series and return back here to complete it.
Publish your experiment as a Web Service
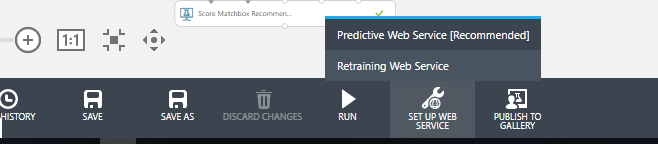
Once you are ready find the Set up Web Service button on the bottom and click Predictive Web Service.
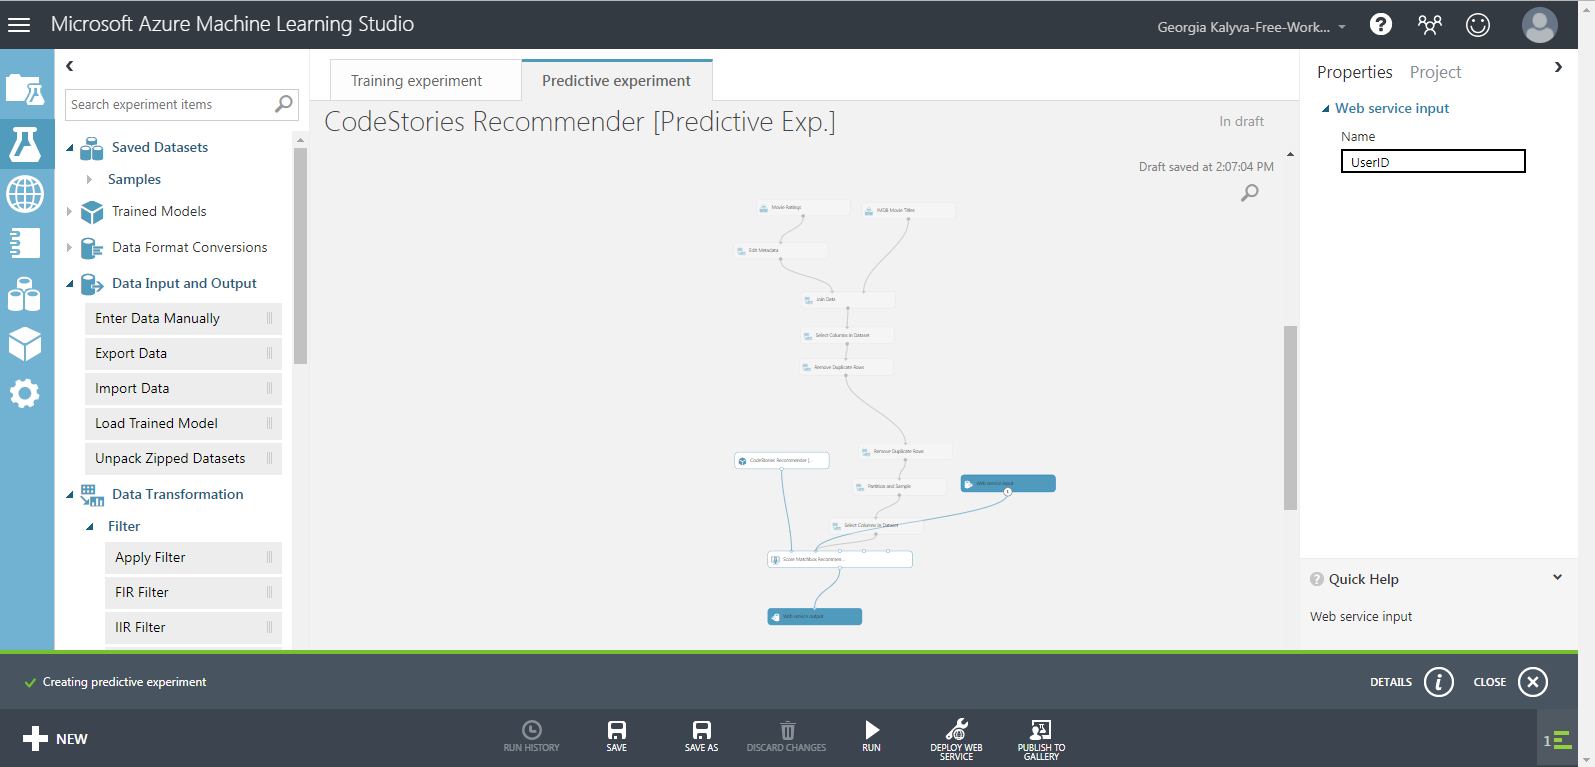
Azure Machine Learning creates a Predictive Experiment similar to the one we had. The only difference is our Train Matchbox Recommender is now a trained model and we have an input and output. We can have only one input and one output in a Predictive Experiment so if we want to try different scenarios we have to create a different Web Service for each one.
We move the input from to top to the Score Matchbox Recommender because we want Azure ML Studio to enter the User Id there. To name the output and input click on them and give them a name.
Then we have to run the experiment to validate it again. After a successful run Click the Deploy Web Service button on the bottom. Your Web Service is ready! You will be taken to the following screen.
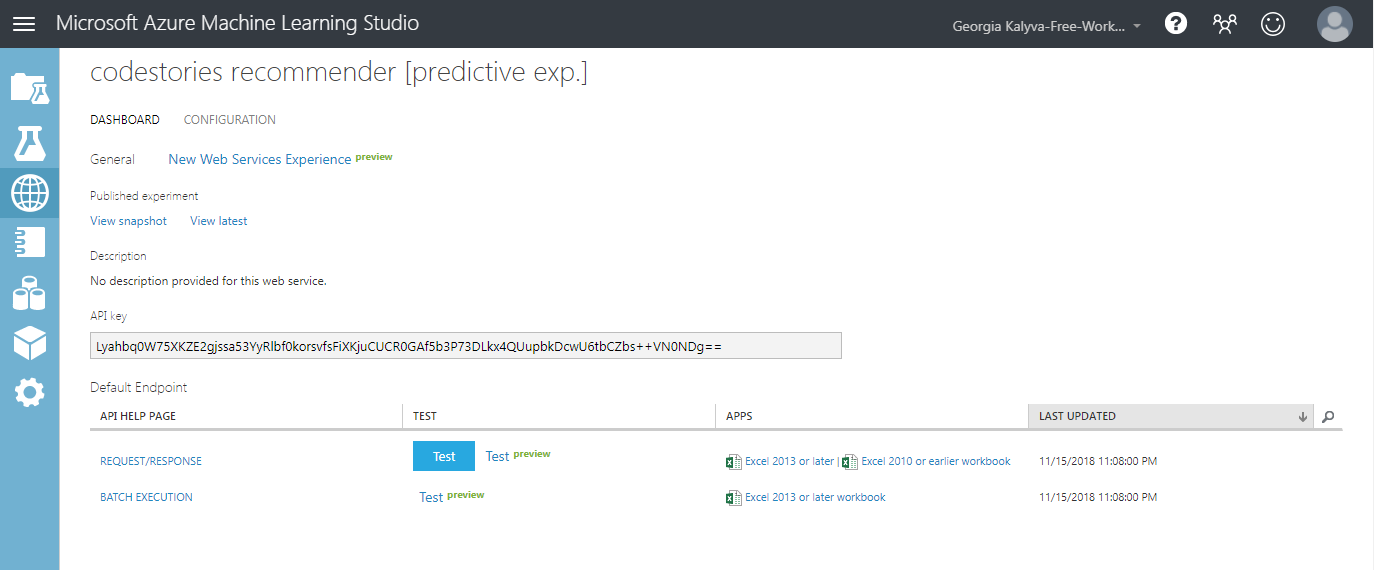
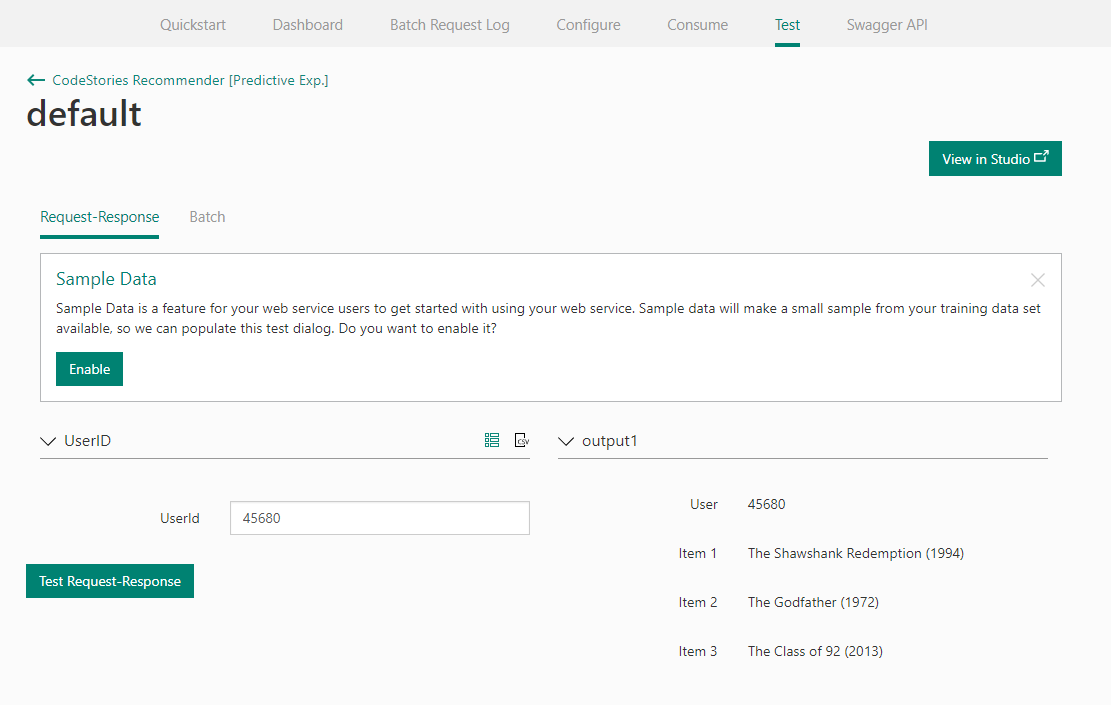
You can see the API key here. Click the Test (still in preview) link to test the response. On the following screen that loads click the Test Endpoint.
Here you can test your endpoint. Add a random user id that does not exist on the dataset and see the results.
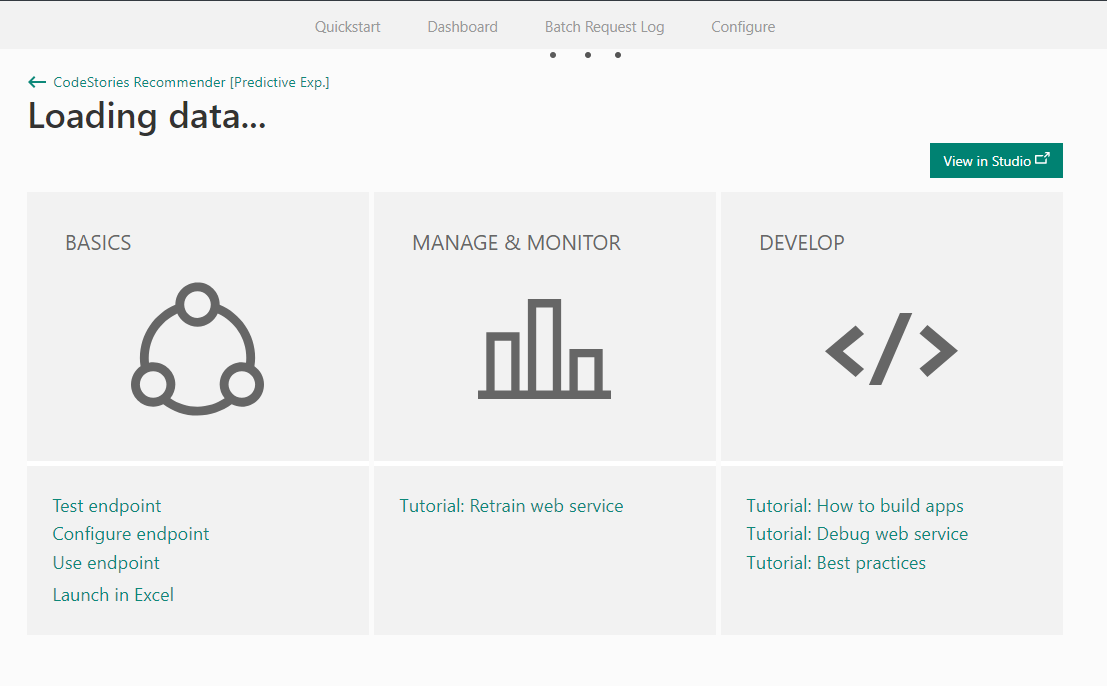
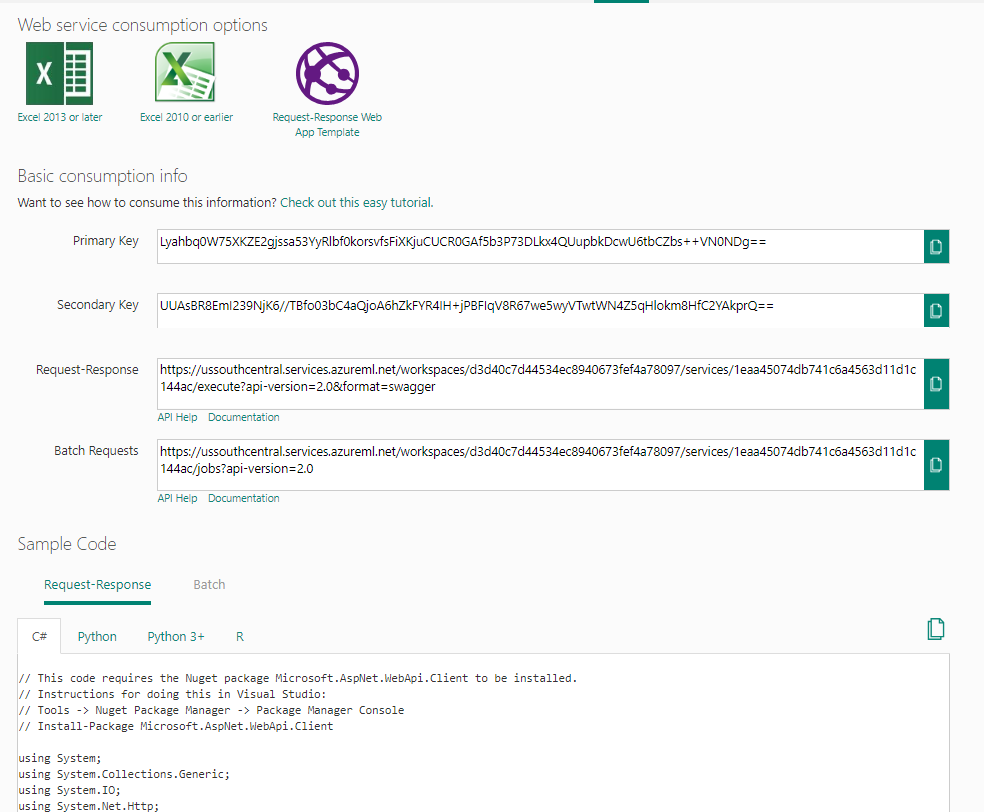
Next go back and go to the User Endpoint screen. Here you can find examples on how to use your endpoint from code and all relevant information.
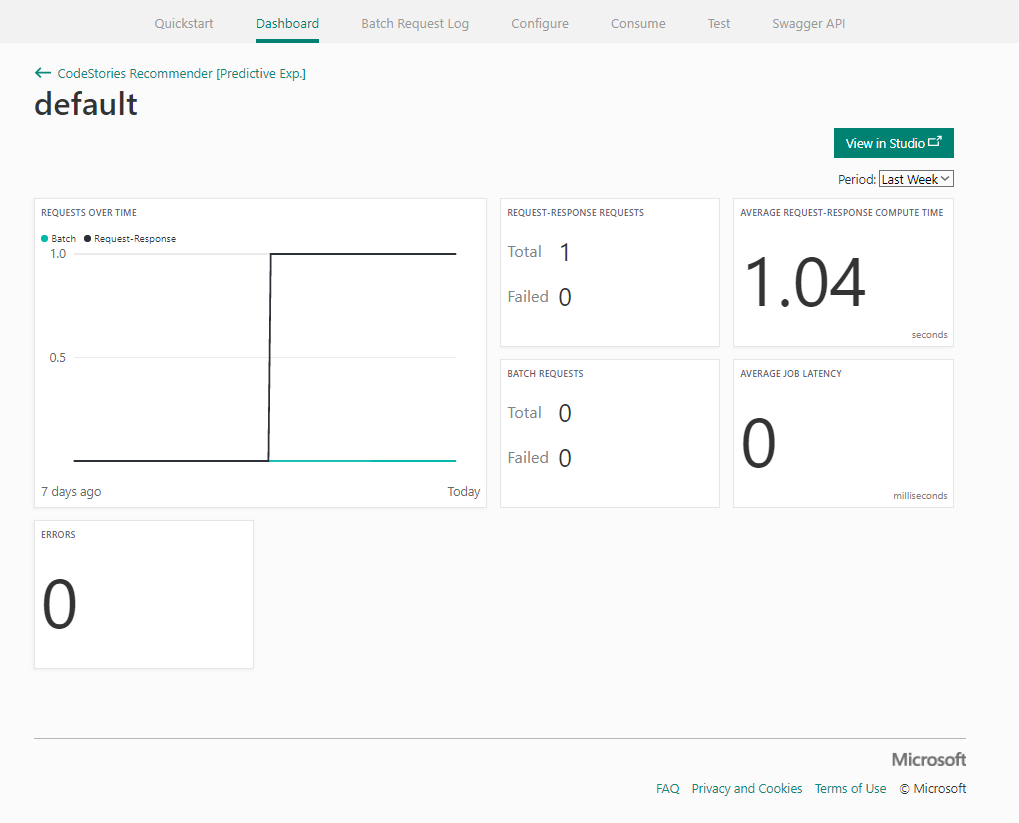
In the Dashboard you can see stats about your web service.
From this portal you have a lot of options, you can make batch requests and retrain your model.