This is the first tutorial in series of tutorials in which we will learn how to set up a Microsoft Azure Active Directory (Azure AD) B2C tenant, register an application with it, authenticate applications and grant access tokens. In the first tutorial we will learn how to set up a Azure AD B2C Tenant.
If you don’t have an Azure subscription, create a free account before you begin.
Step 1: Login to the Azure Portal
Login to the Azure Portal.
Step 2: Create an Azure AD B2C tenant
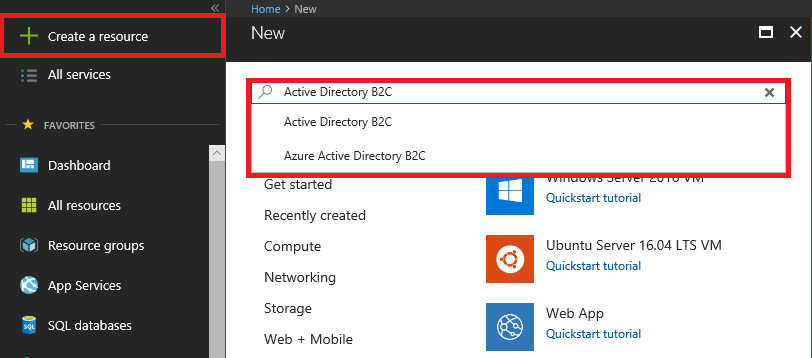
B2C features can’t be enabled in your existing tenants. You need to create an Azure AD B2C tenant. In the Azure Portal click the Create a Resource button and choose Azure Active Directory B2C.

Select Create a new Azure AD B2C Tenant. You will need to provide your own organization name and a unique tenant name when creating your tenant.

Step 3: Link your tenant to your subscription
Switch to your Azure AD B2C tenant, select the B2C directory in the top-right corner of the portal.

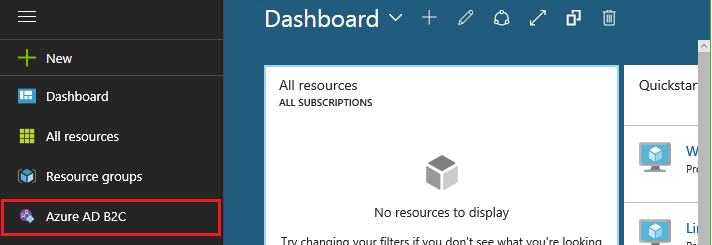
Select Azure AD B2C from the services list in the Azure portal.

That was it, we have successfully created an Azure AD B2C Tenant and we are ready to start registering applications in Part 2 of this Tutorial. Link coming soon.


