
Azure AI Cognitive Services provide support for Docker containers to let you use the Azure APIs on-premises. In this tutorial we are going to see how to install and configure Text Analytics Language Detection API for use in a container.
If you want a more comprehensive explanation about the docker engine, the benefits and requirements you can see and follow the video from my session Azure AI on-premises using Docker, otherwise you can continue to this tutorial.
Prerequisites
- An Azure Subscription. If you don’t have an Azure subscription, create a free account before you begin
- Docker Engine. You must have Docker Engine installed locally. More information on how to install the Docker engine can be found here. Docker must be configured to allow the containers to connect with and send billing data to Azure.
- Familiarity with Microsoft Container Registry and Docker: You should have a basic understanding of both Microsoft Container Registry and Docker concepts, like registries, repositories, containers, and container images, as well as knowledge of basic docker commands. For Docker and container basics, see the Docker overview.
- Container networking. The Cognitive Services containers are required to submit metering information for billing purposes. Failure to allow list various network channels that the Cognitive Services containers rely on will prevent the container from working.
The host should allow list port 443 and the following domains:
- *.cognitive.microsoft.com
- *.cognitiveservices.azure.com
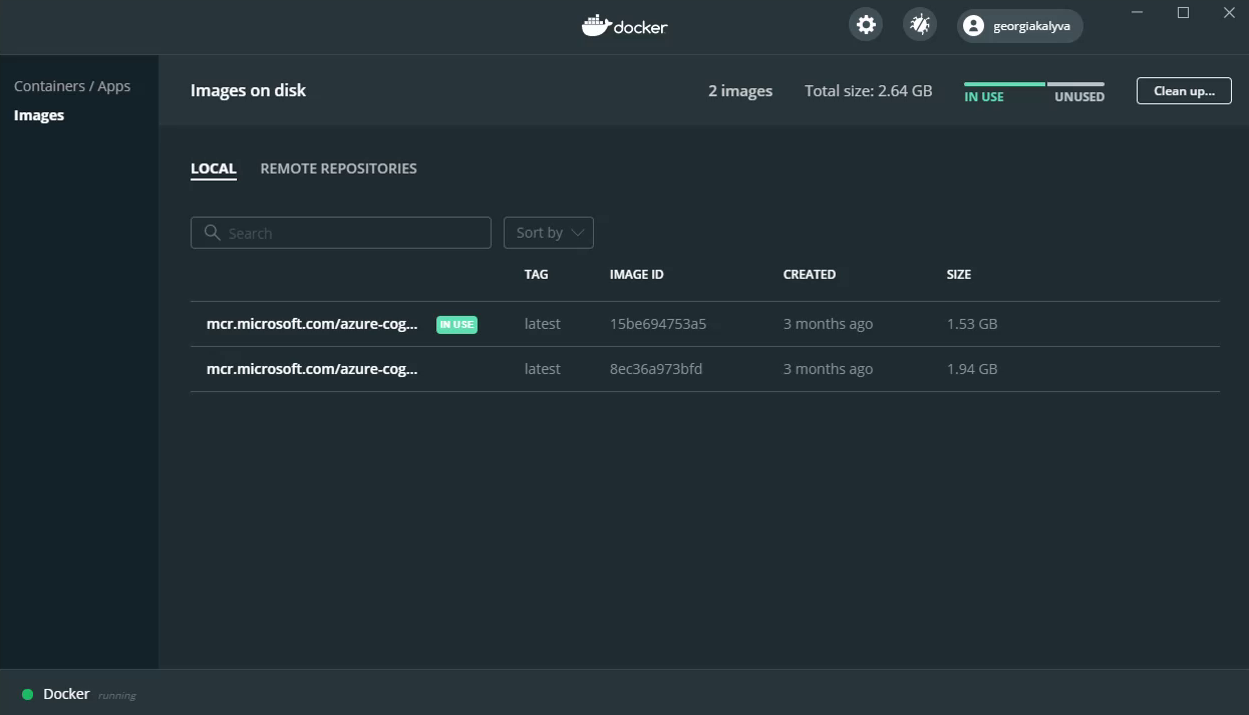
Getting the images
Use the docker pull command to download a container image from Microsoft Container Registry.
For a full list of available containers, see the Azure Cognitive Services Containers list in the Docker Hub.
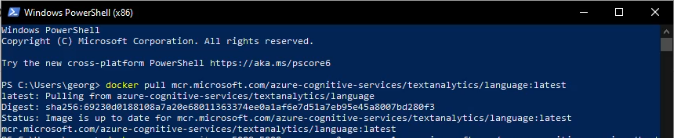
docker pull mcr.microsoft.com/azure-cognitive-services/textanalytics/language:latest
Open a PowerShell command line and run the command.
Gathering required parameters
To run the container you will need at least the following three mandatory parameters
- ApiKey
The API key of the Cognitive Services resource that’s used to track billing information.The value of this option must be set to an API key for the provisioned resource that’s specified in Billing. - EndPoint Uri
The endpoint of the Cognitive Services resource that’s used to track billing information. The value of this option must be set to the endpoint URI of a provisioned Azure resource. - Eula:
Indicates that you accepted the license for the container.The value of this option must be set to accept.
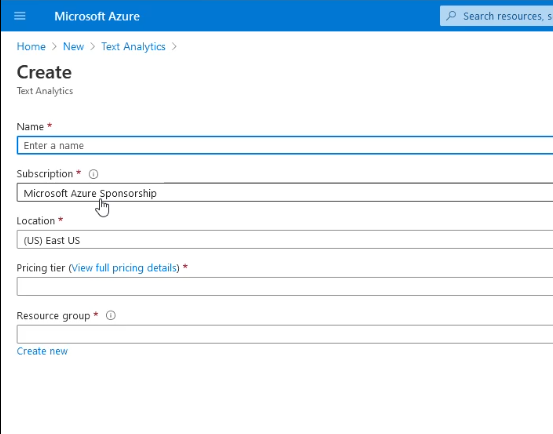
You can get the API key and the EndPoint URI from the Azure Portal. Login with your subscription details and create an Azure Cognitive services Text Analytics resource.
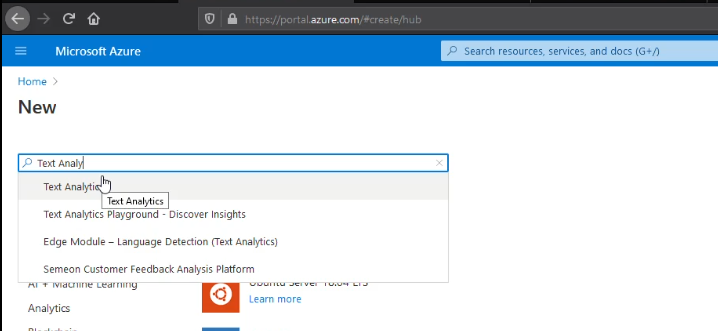
Add the required information and press Create
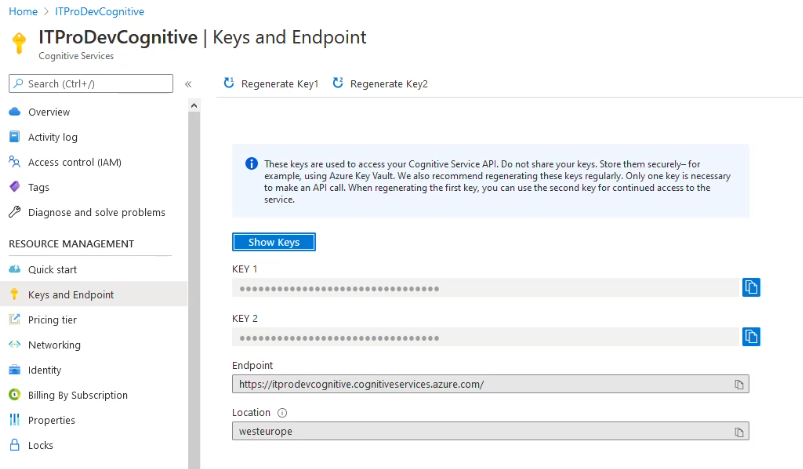
Open the newly created resource and go to the Keys and Endpoint tab. Copy and keep one key and the EndPoint URI
Running the container
Use the docker run command to run the containers. The container will continue to run until you stop it. Add the required parameters I mentioned above. Beyond those parameters you can also pass the port for the application to run, the CPU cores for the application or the memory. Here is an example:
docker run --rm -it -p 5000:5000 --memory 2g --cpus 1 \
mcr.microsoft.com/azure-cognitive-services/textanalytics/language \
Eula=accept \
Billing=https://itprodevcognitive.cognitiveservices.azure.com \
ApiKey=xxxxxxxxxxxxxxxxxxxxxxxxxxxxxxxx
Run the container in the PowerShell command line.

Using the application
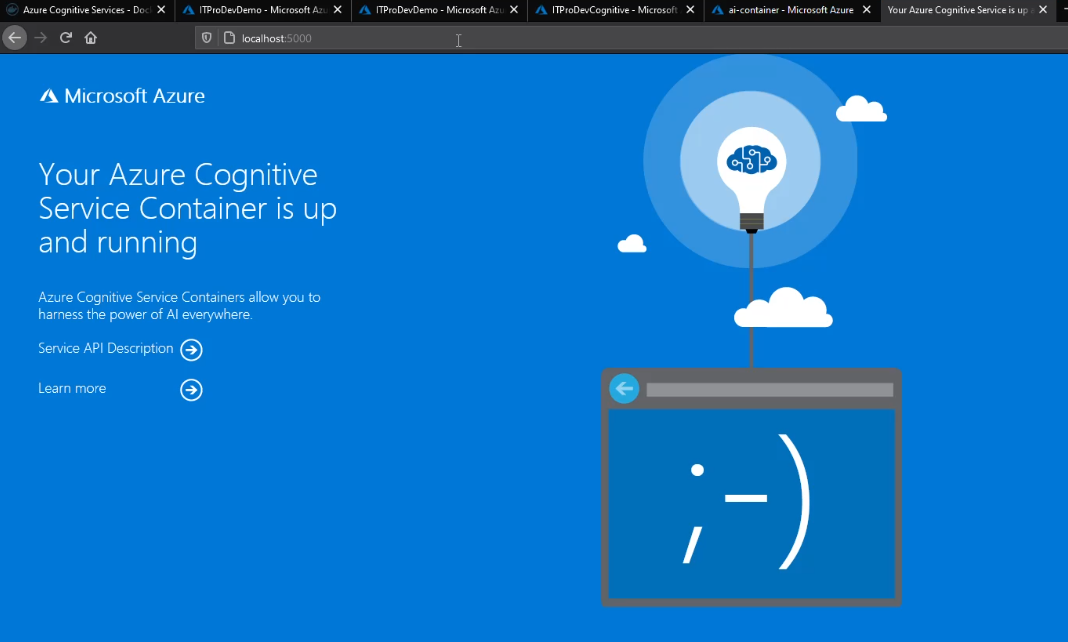
Open http://localhost:5000 on your computer. You will see the Azure Welcome Page! The application is up and running. You can run as many containers as your hardware supports. Billing still happens on the cloud but your data are processed in the container locally.
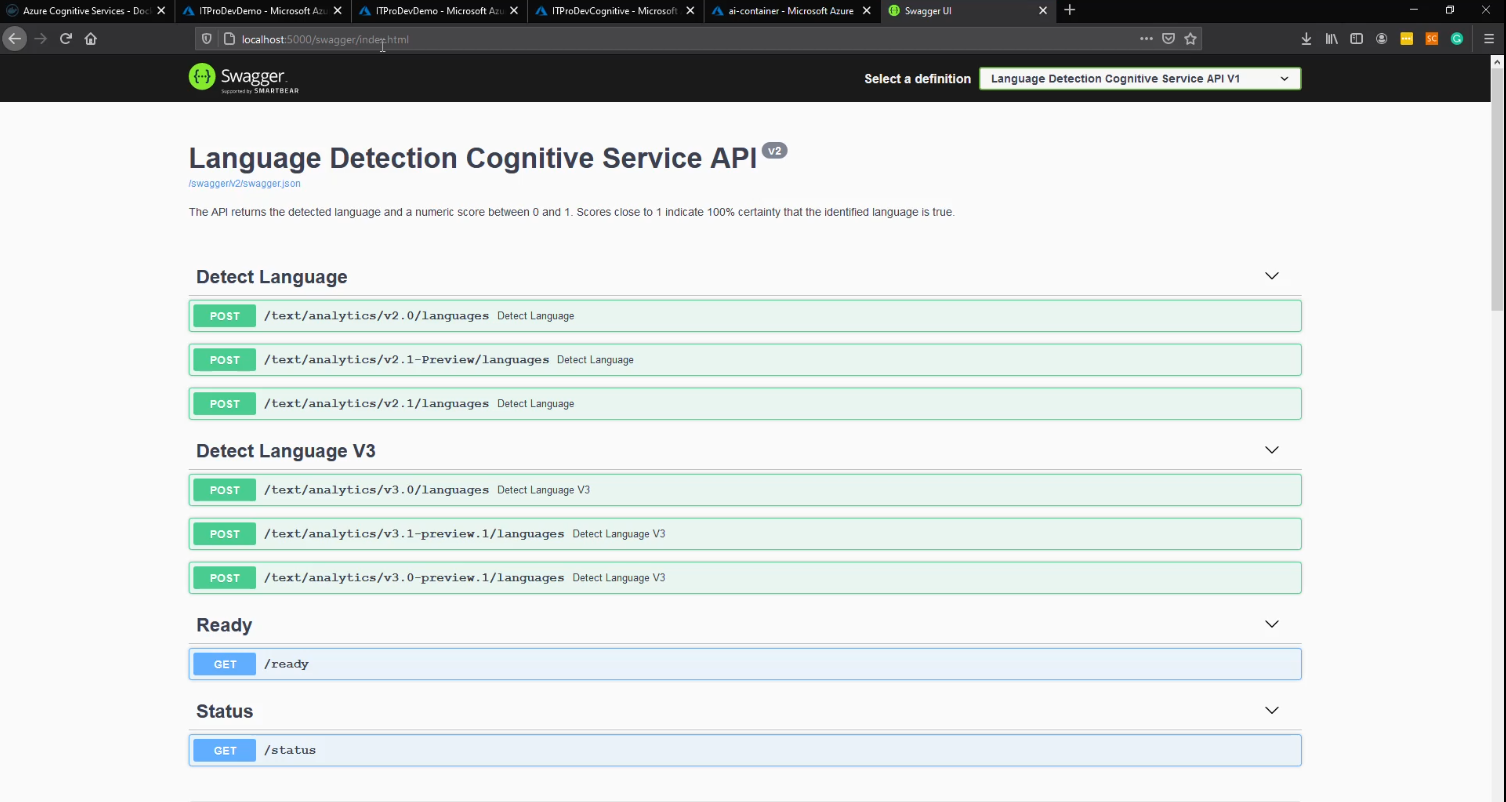
The application can now be used like any other Azure Cognitive Services API. You can use the swagger interface for quick testing.
Stopping the container
To shut down the container, in the command-line environment where the container is running, select Ctrl+C.