
You can use Custom Vision AI to train you own model using your own images and get results and predictions. Images evaluated through your custom vision model become part of a feedback loop you can use to keep improving your classifier. In this tutorial we are going to use Custom Vision AI to detect objects in images.
How it works
The Custom Vision service uses a machine learning algorithm to apply labels to images. You can label the images yourself when you upload them to the service. Then the algorithm trains by using this data and calculates the accuracy. Once the algorithm is trained, you can test, retrain, and classify new images. You can also export the model to use offline.
Classification and object detection
Custom Vision has two functions. Image classification, which adds labels to classify an image and Object detection which is similar, but it also returns the coordinates in the image where the label(s) were found. For a tutorial on Image Classification read this tutorial.
Prerequisites
You are going to need an Azure Account. If you don’t have an Azure subscription, create a free account before you begin. You can use the Limited Trial for testing your initial model without creating an Azure Account, however the service is retiring and will need to migrate to Azure for bigger quota and limits.
Create a new Custom Vision Project
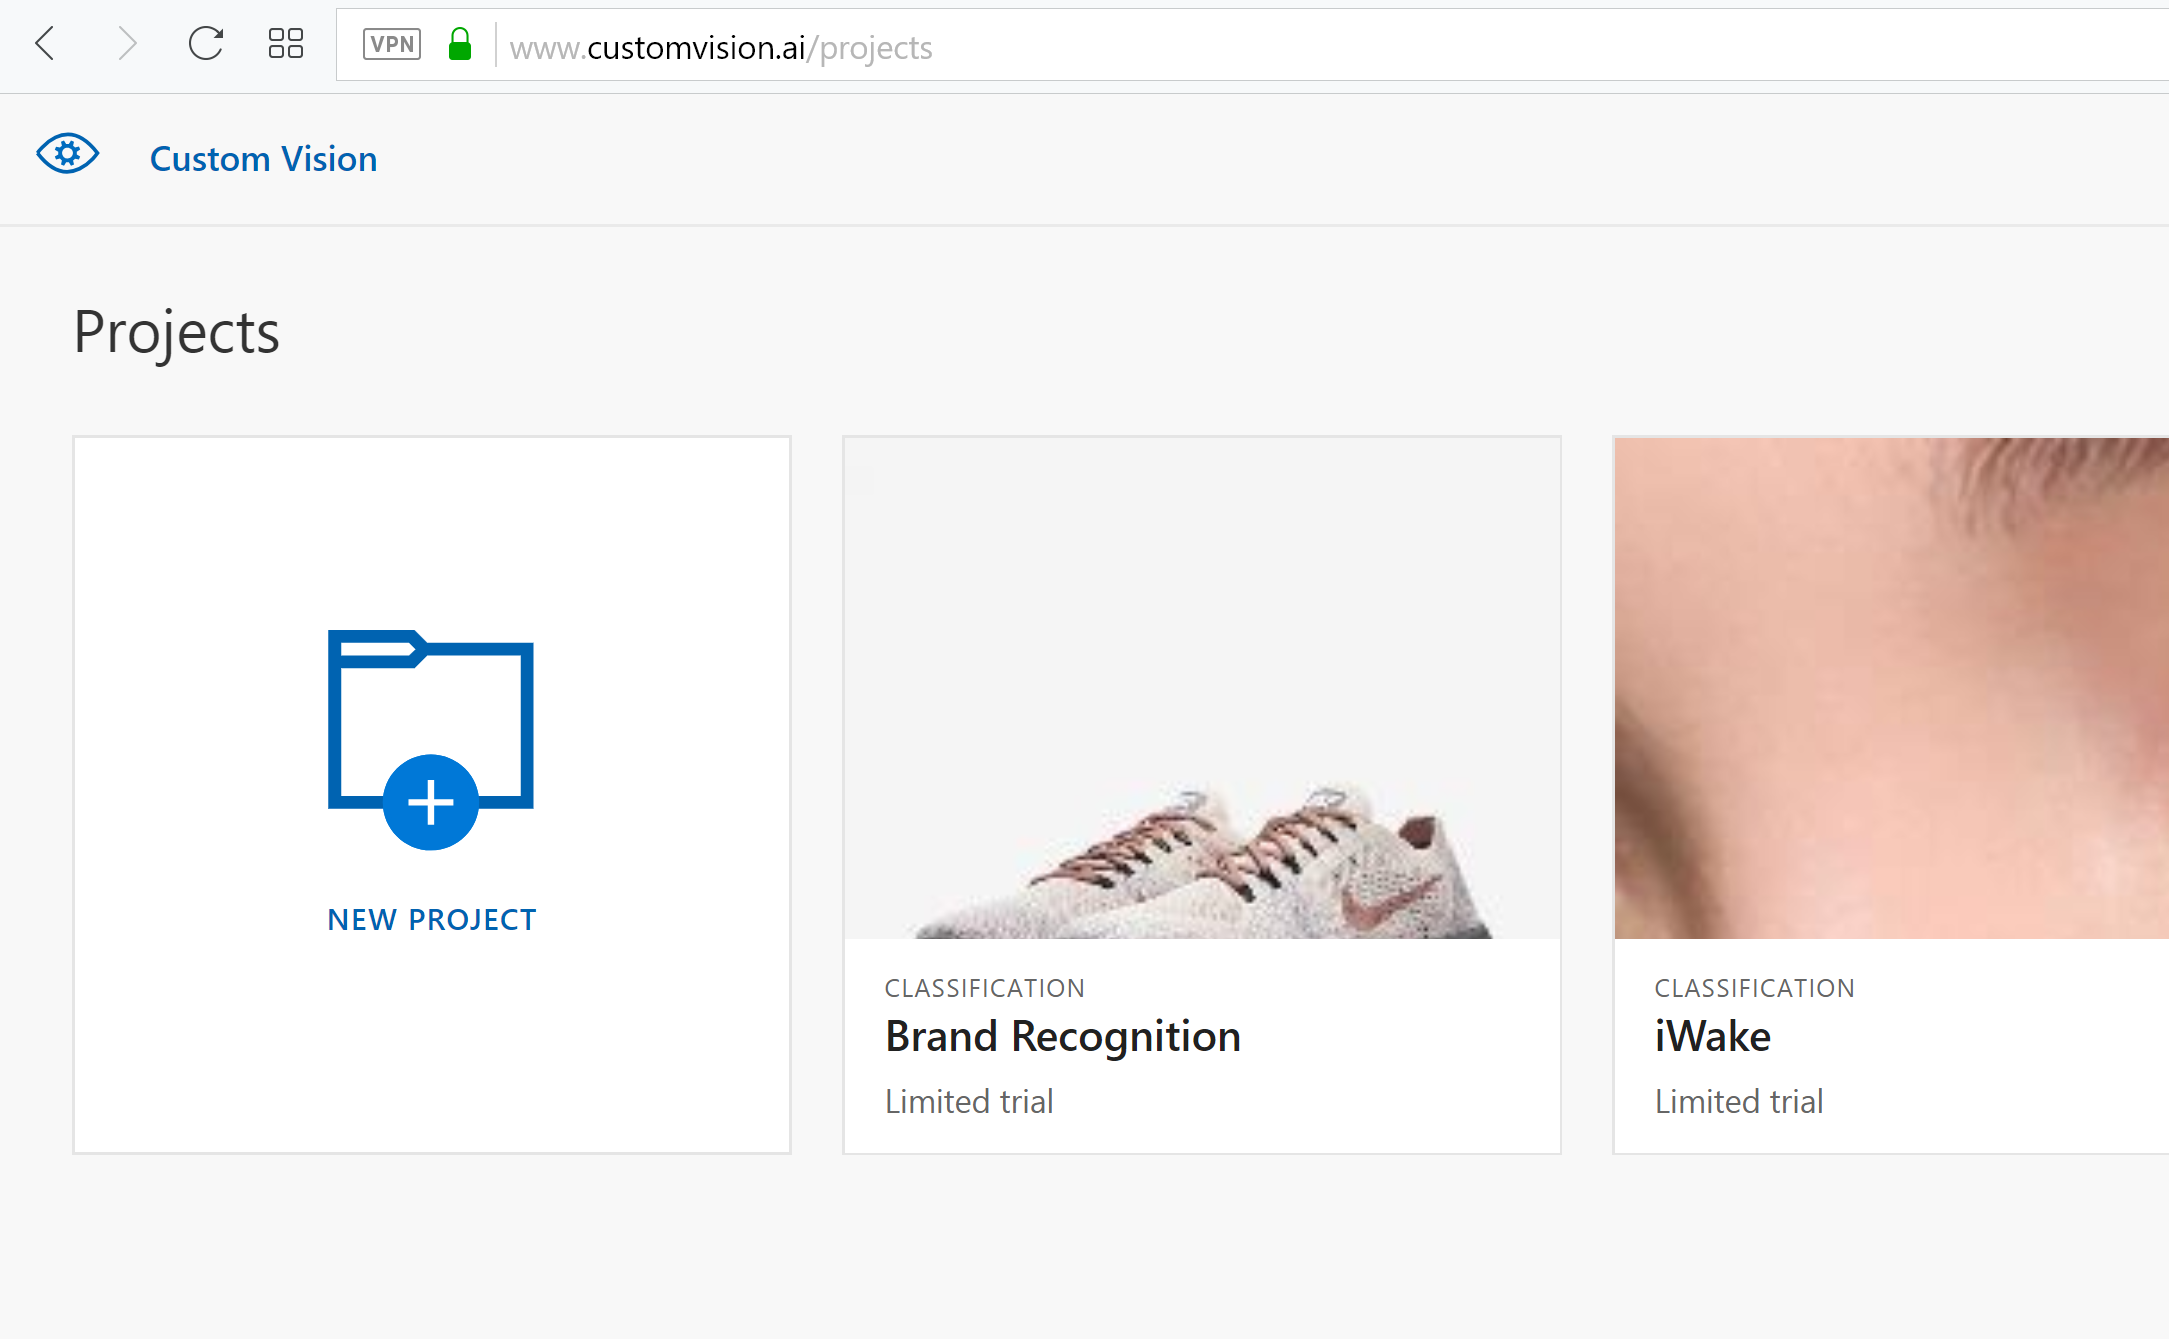
Login with your Microsoft account in the Custom Vision portal here.
On the menu click to Create a new Project:
Fill out the fields accordingly. Add a new name for the project, add classification for the Project type and General for the domain.
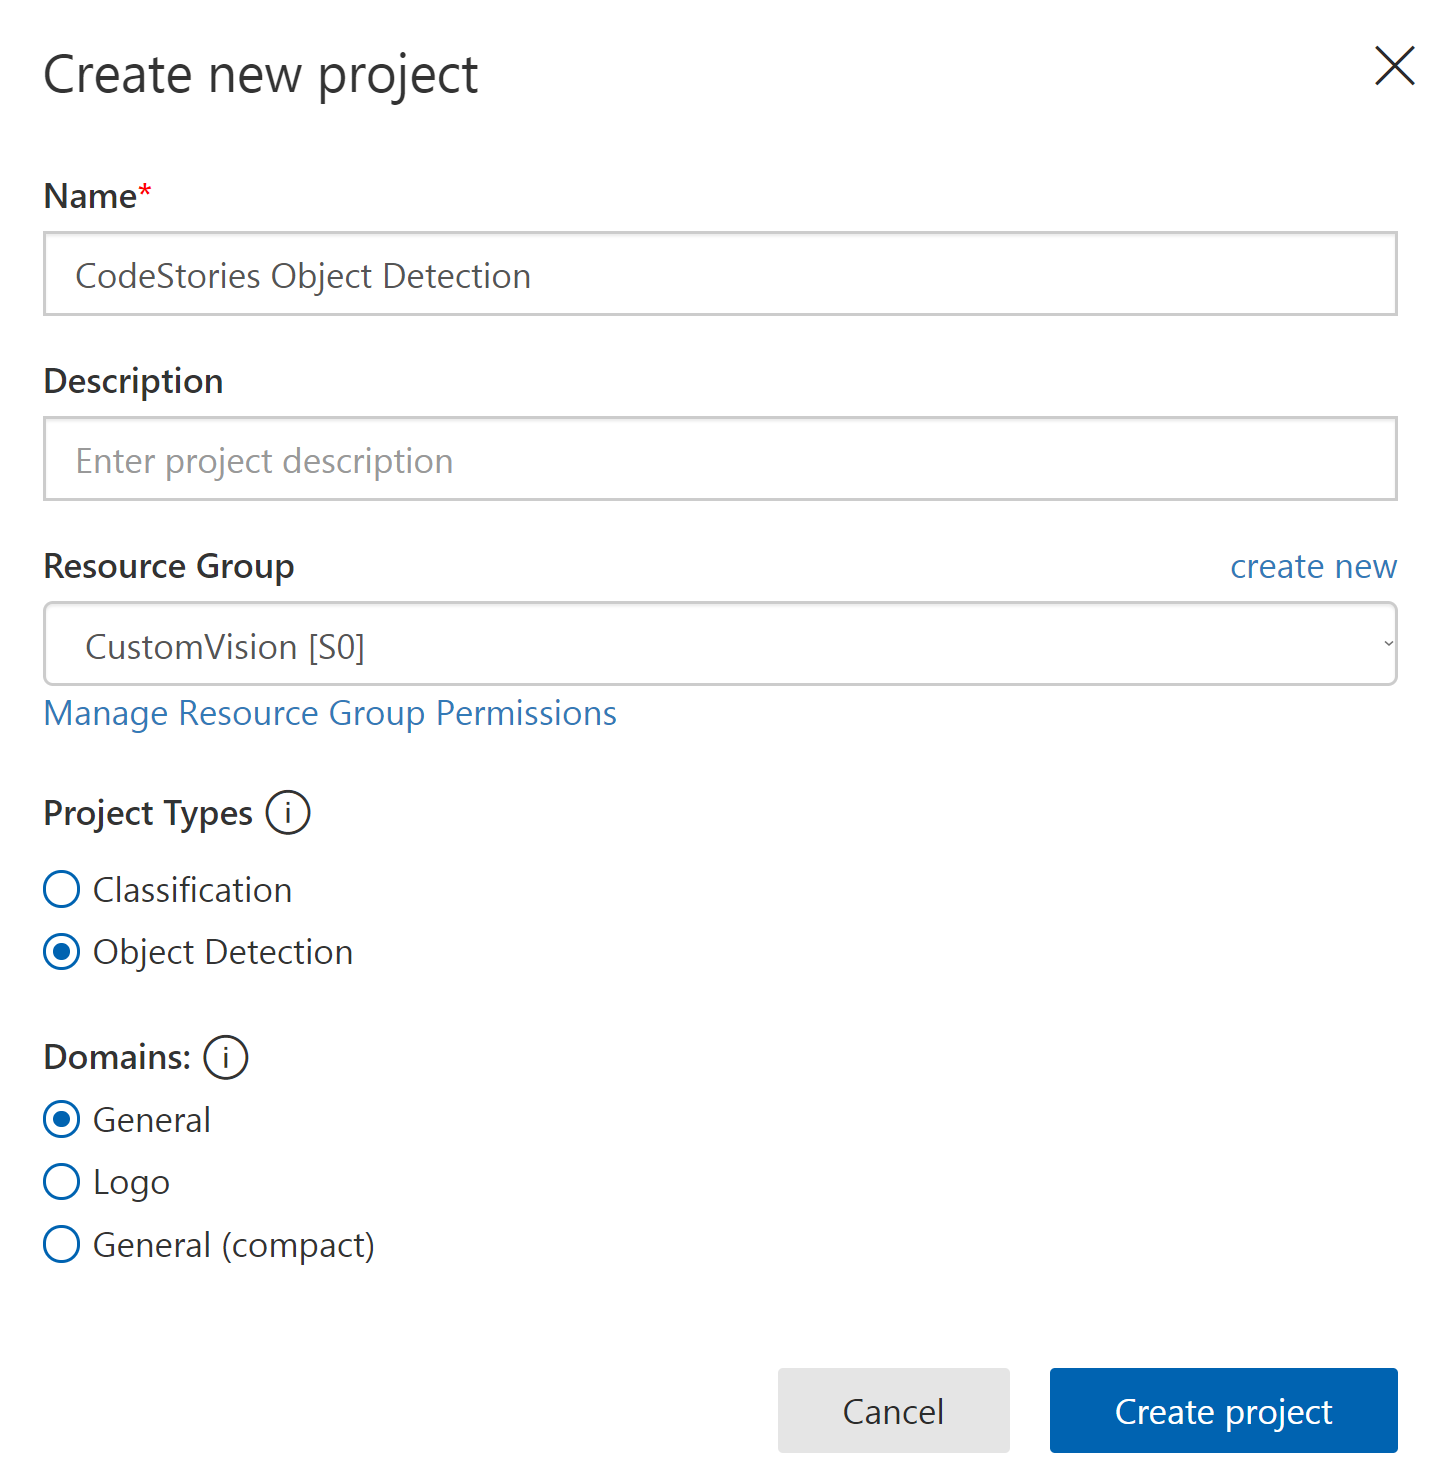
If you don’t have an Azure Account choose the Limited Trial. Otherwise click Create New to create a new Azure Resource Group. Add a name, the Azure Subscription, the Location and the Pricing Tier to Create Resource. Onve you are done, create the Project
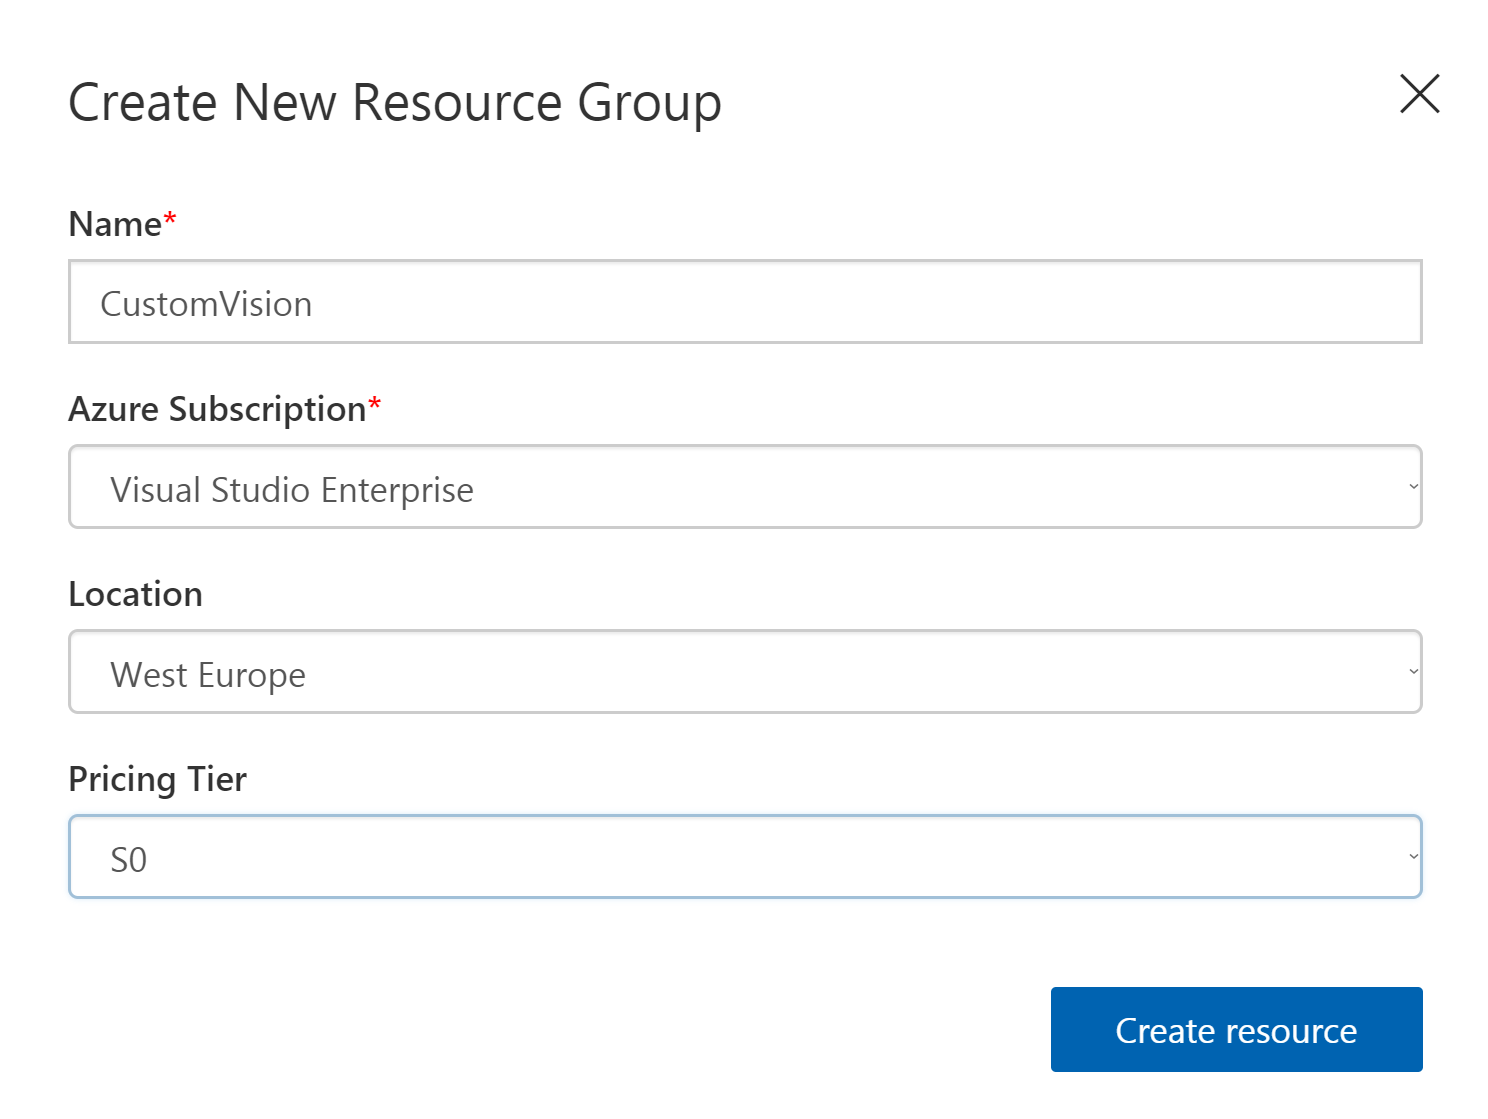
Image Datasets
Now that you have created your project you need some images to train the model. There are several ways to find images. You can find complete datasets online, you can search for images on the internet or you can use the Bing Image CLI to download images by using the Bing Search API. To make things easies I have download several images reusable cups. You can download everything in this link in the reusable dataset folder.
Label the Images
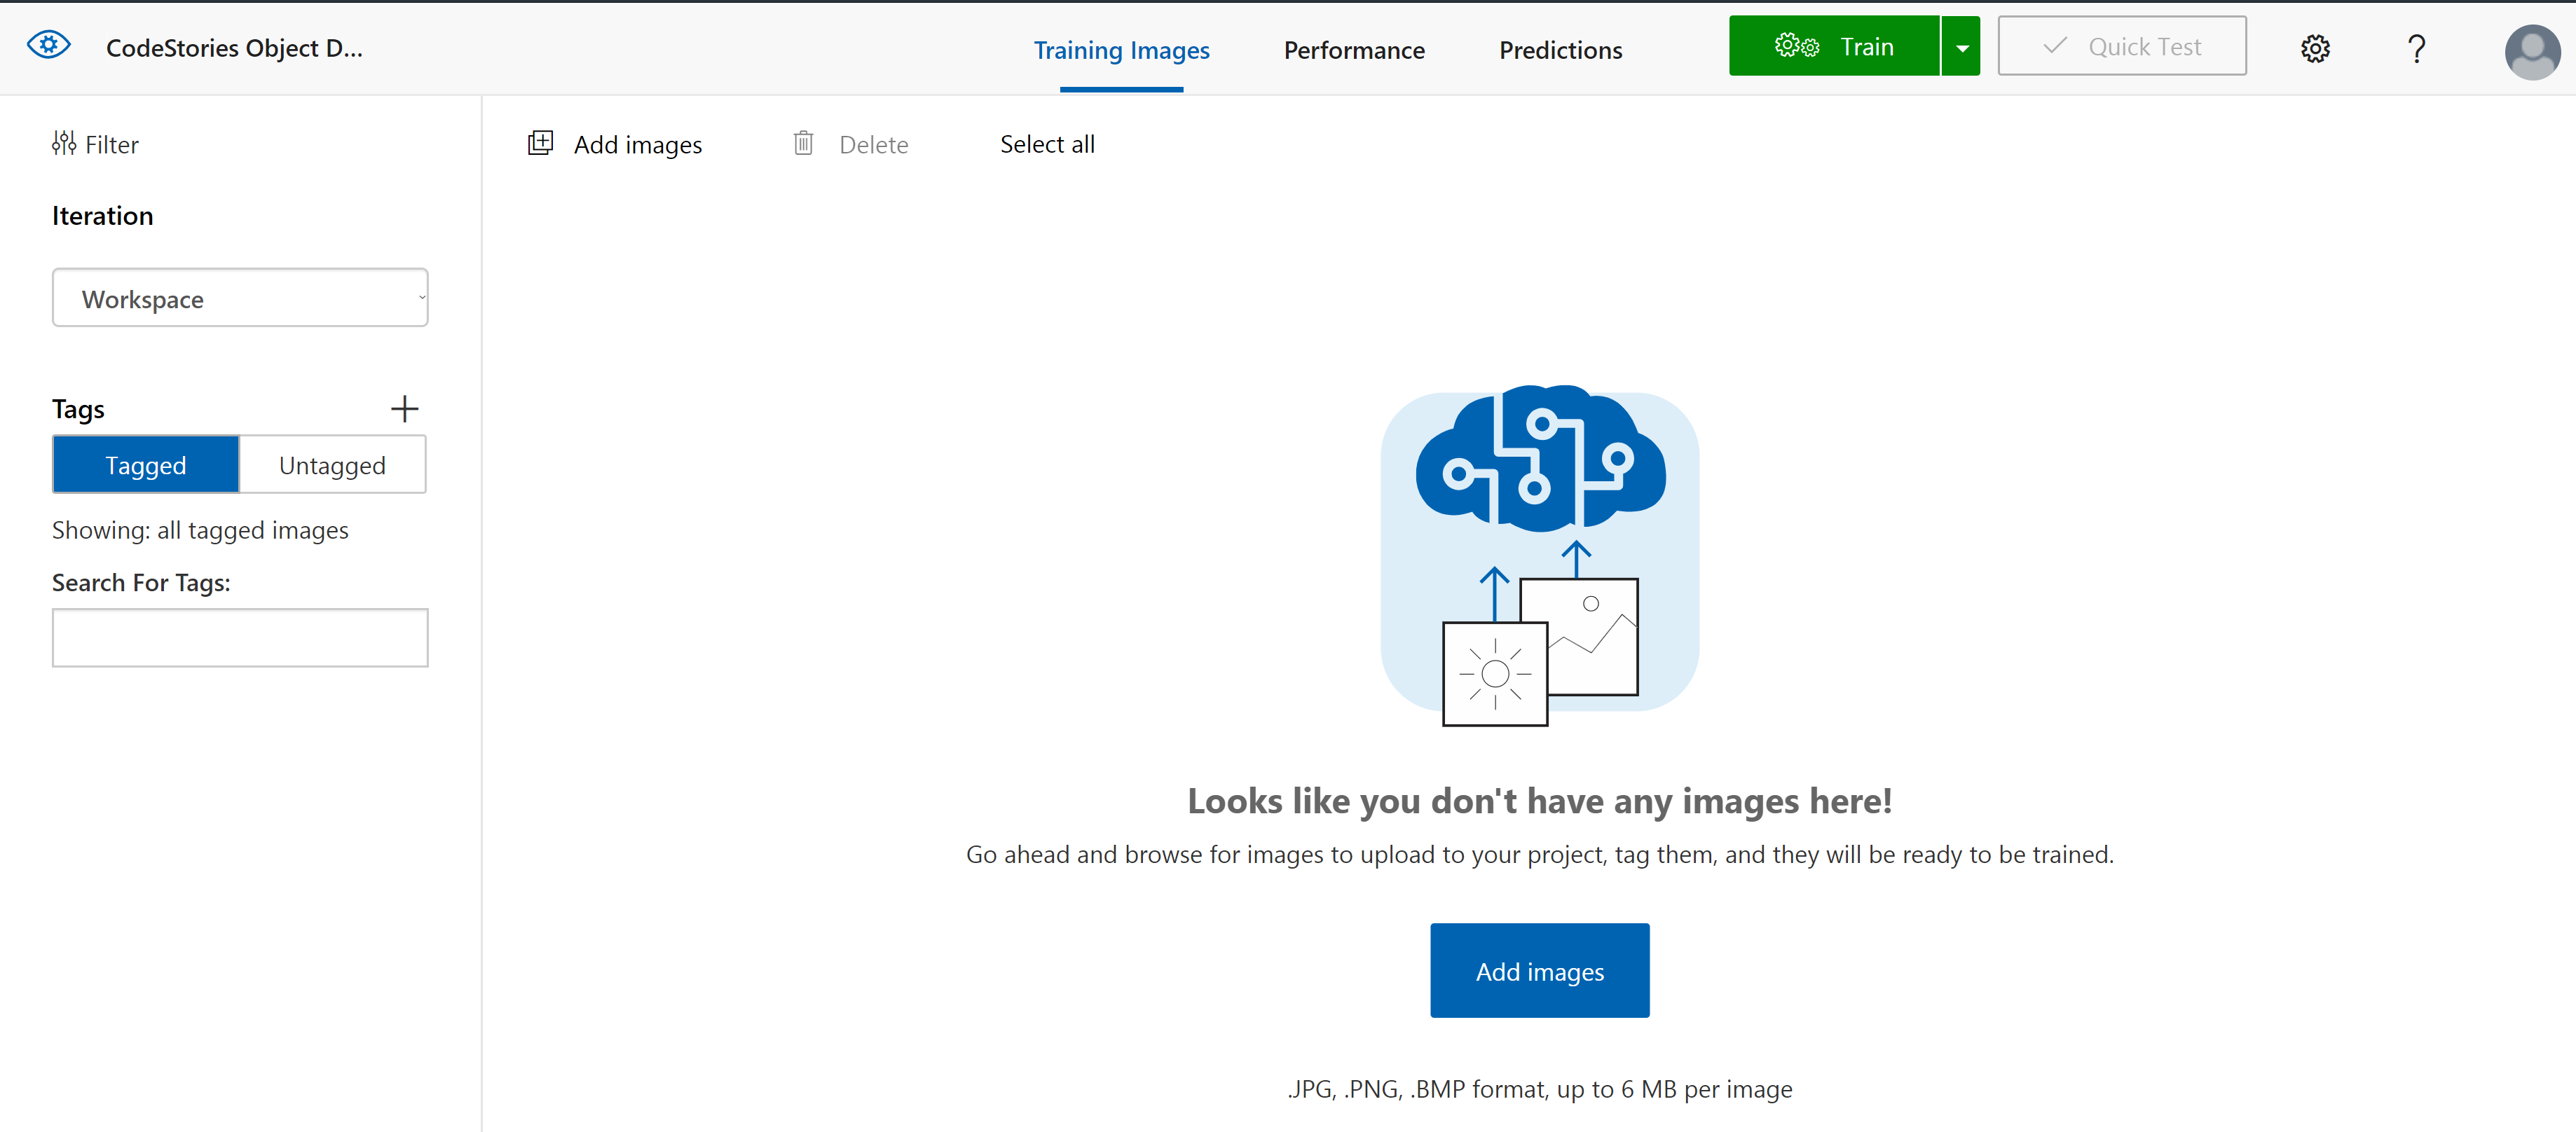
Go back to the portal and click Add Images
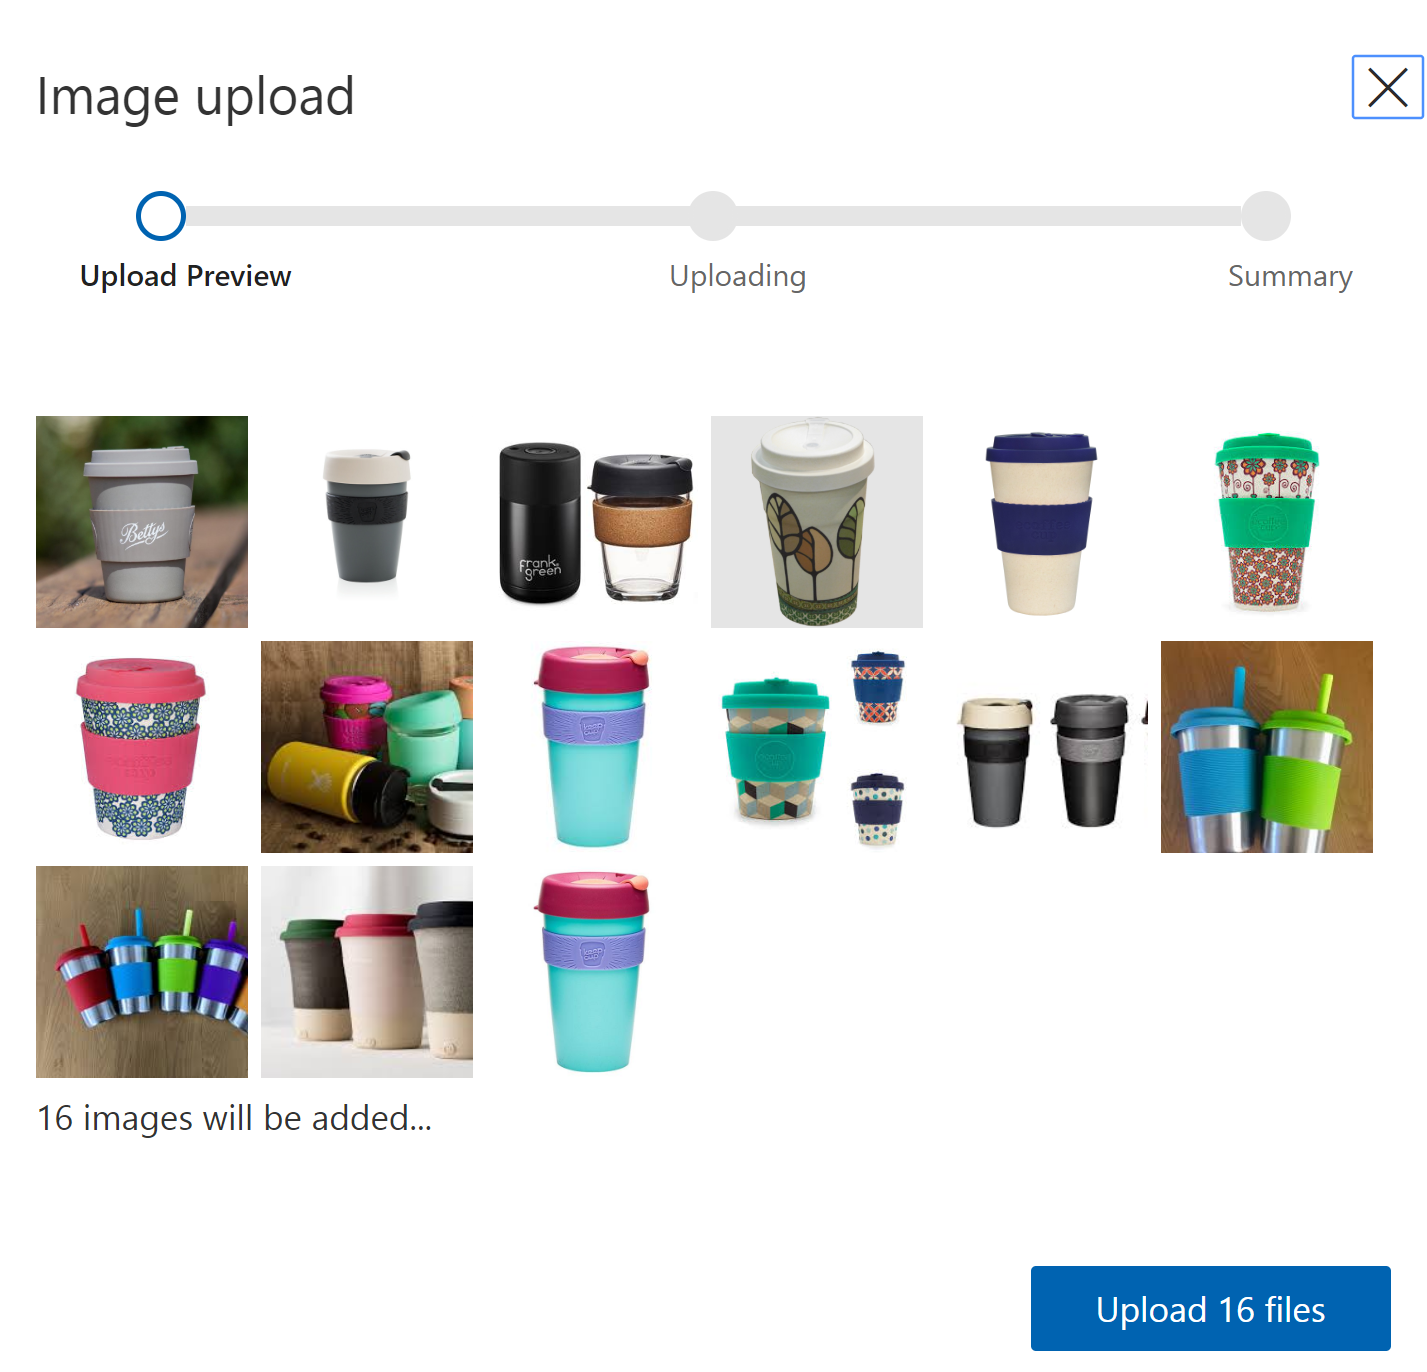
Choose the Images to upload and proceed to upload the images
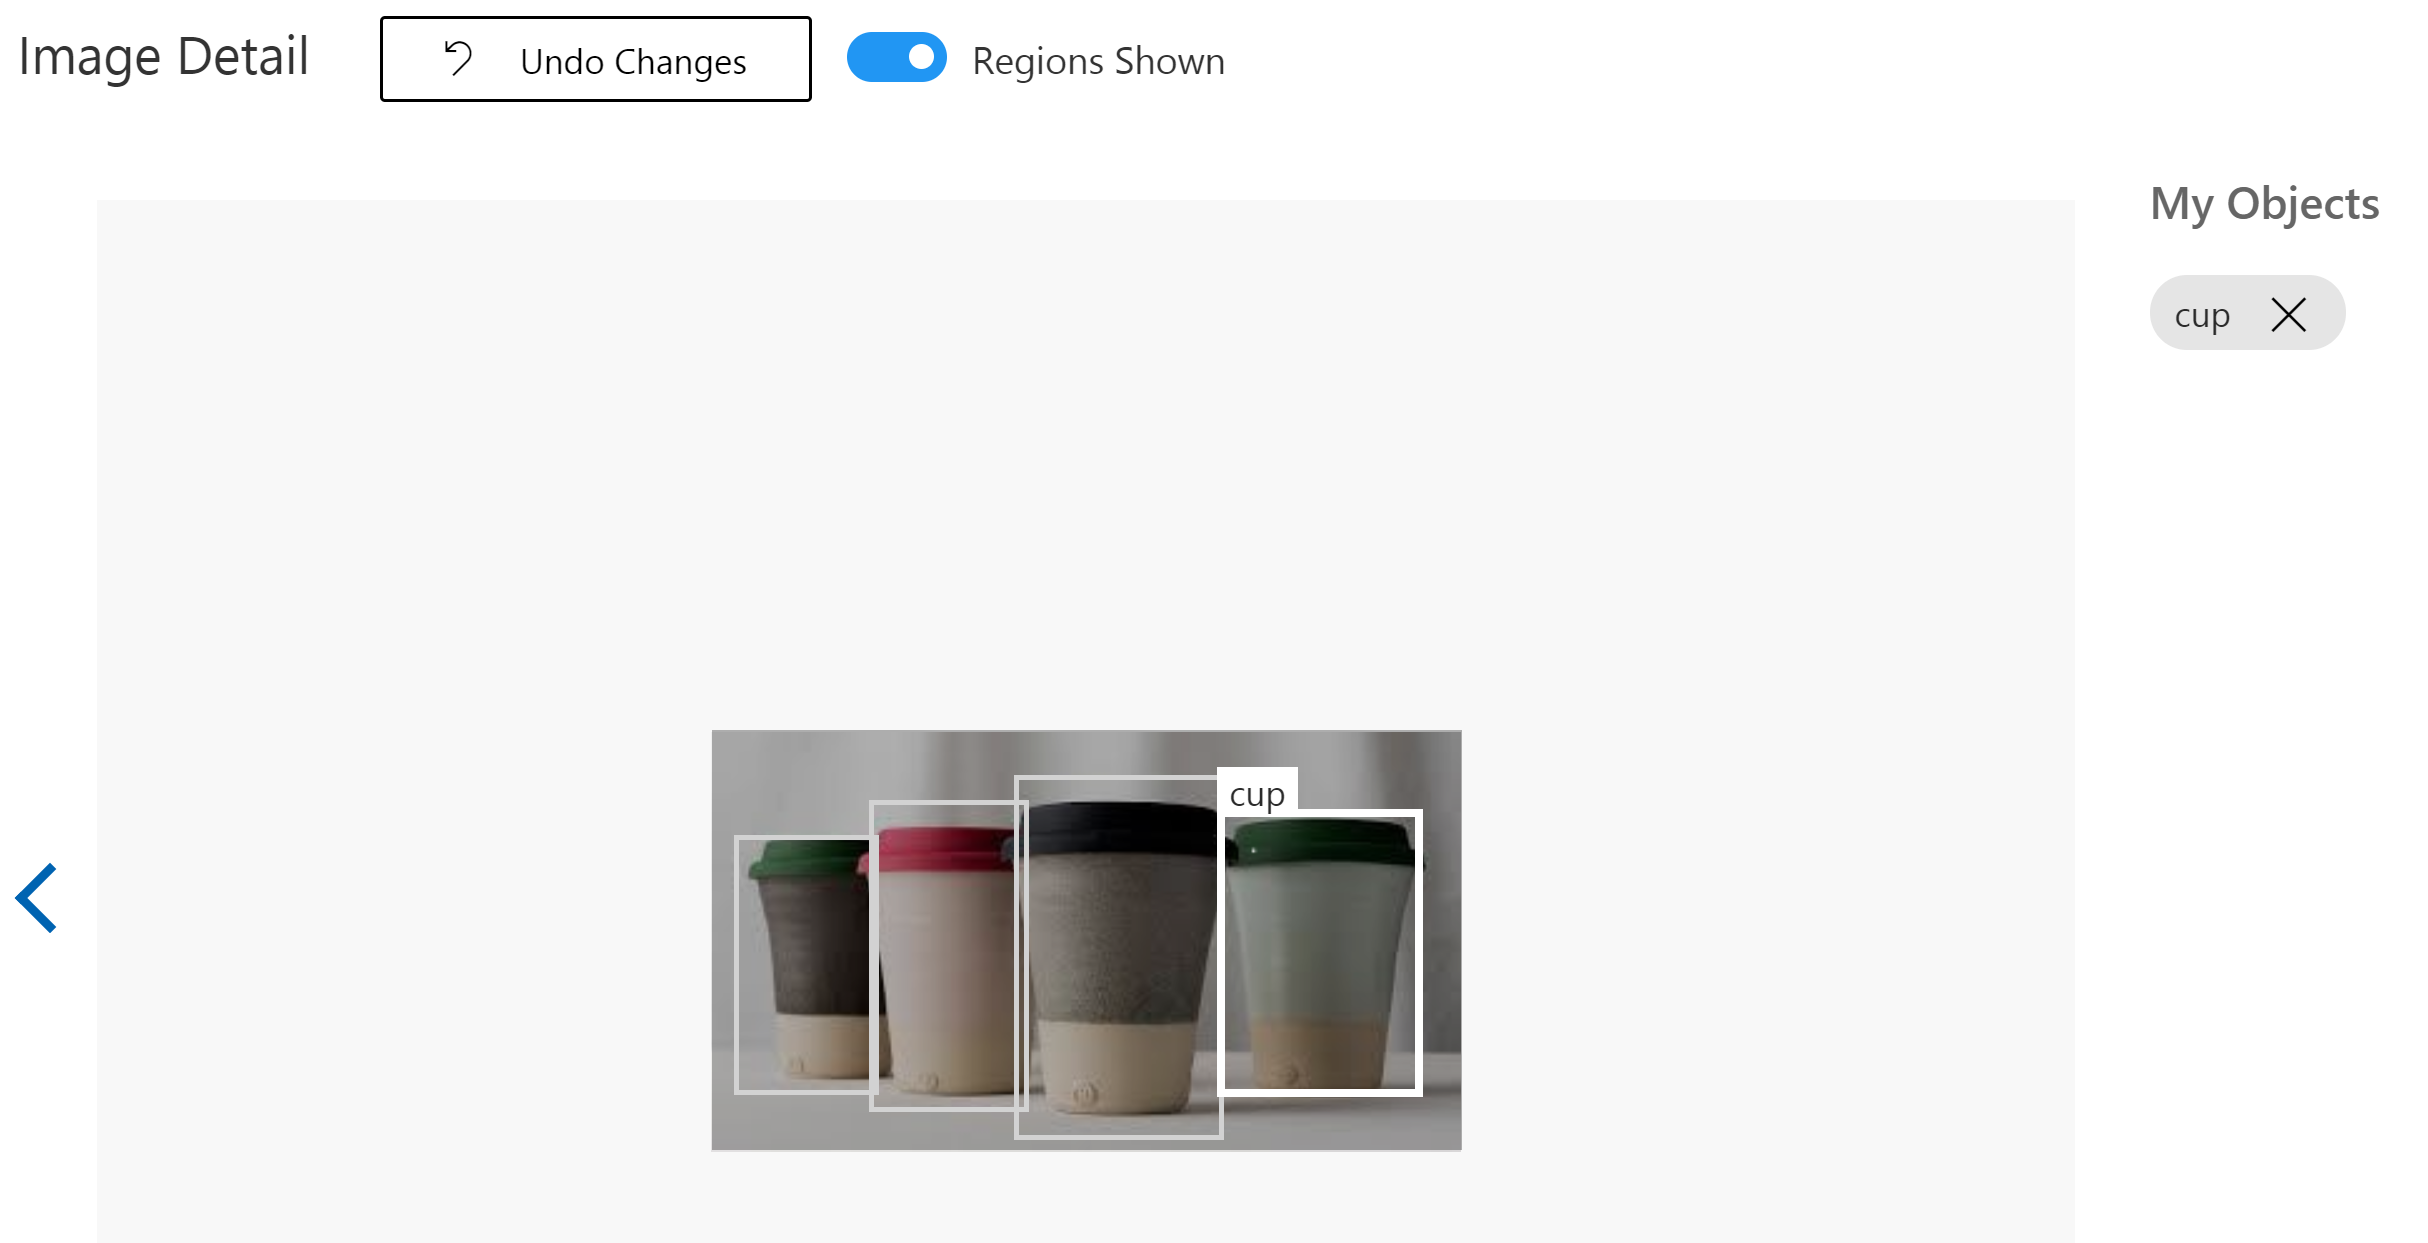
After all images are uploaded, click to open the first image. A menu will open to label the image. Position the object area as close as you can to the object you want to detect. Add the tag or choose it from the list and proceed to do the same in the rest of the images.
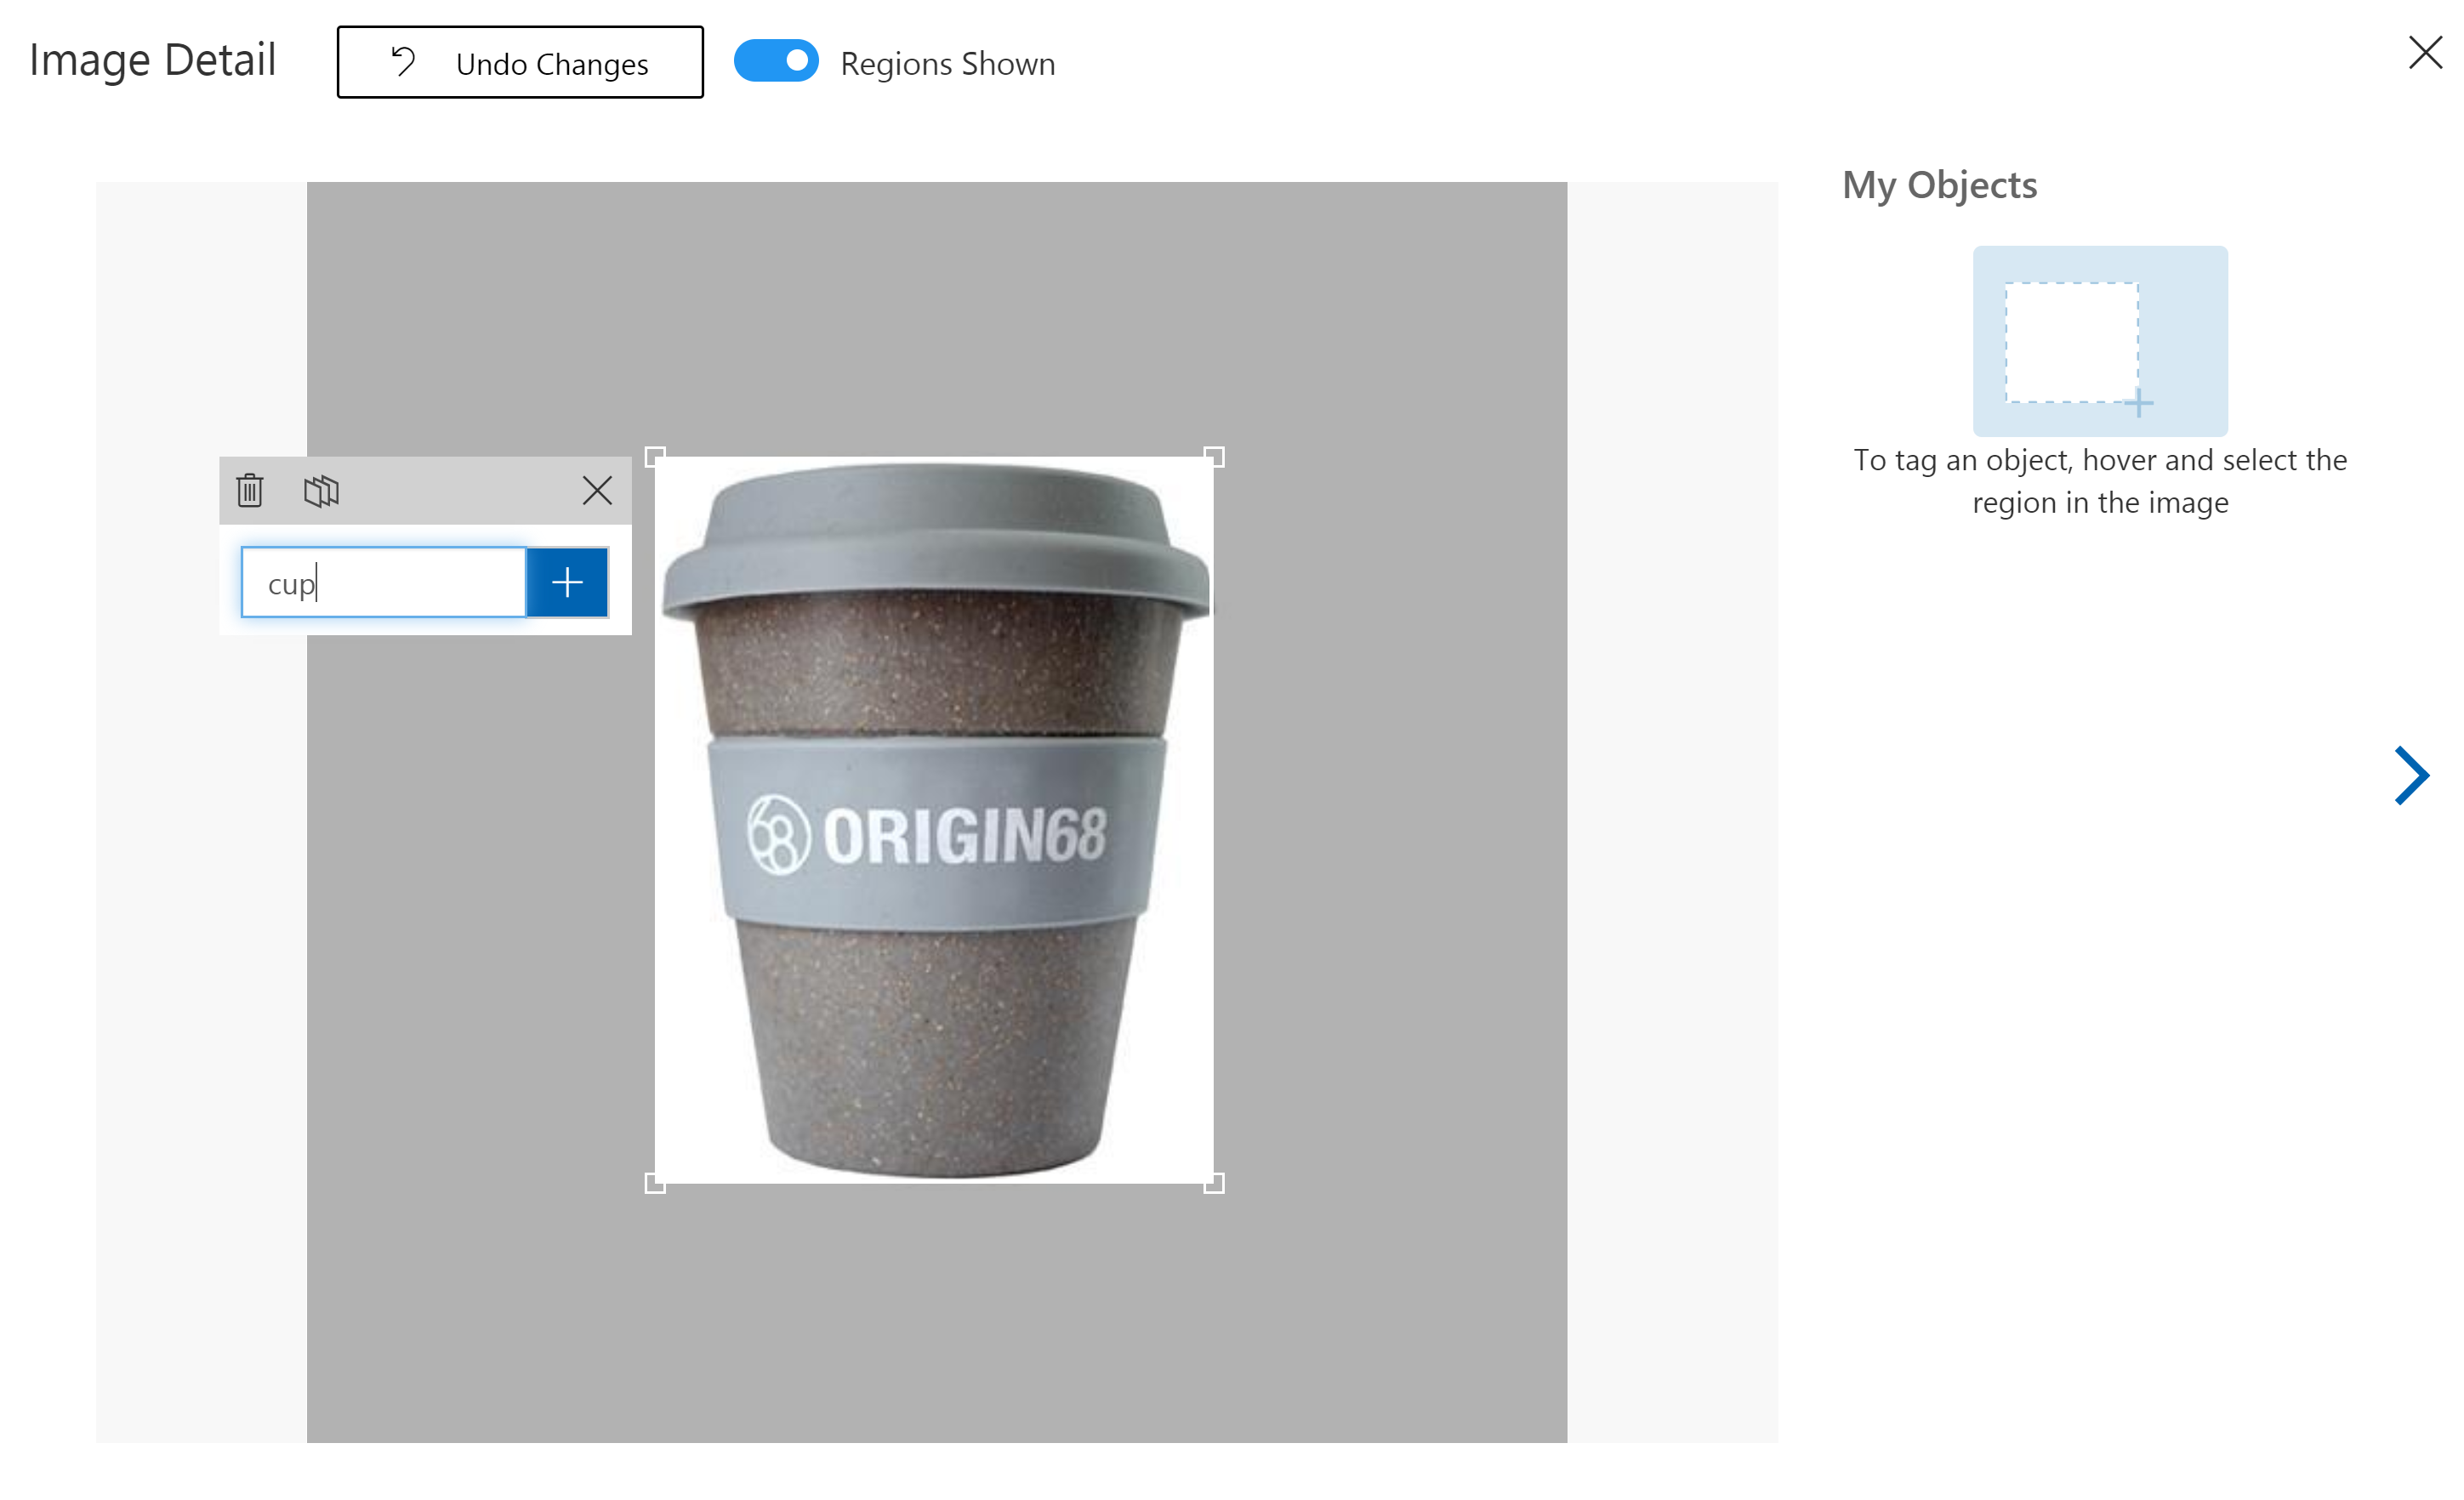
Choose every occurrence of the object in the image
Train and Test
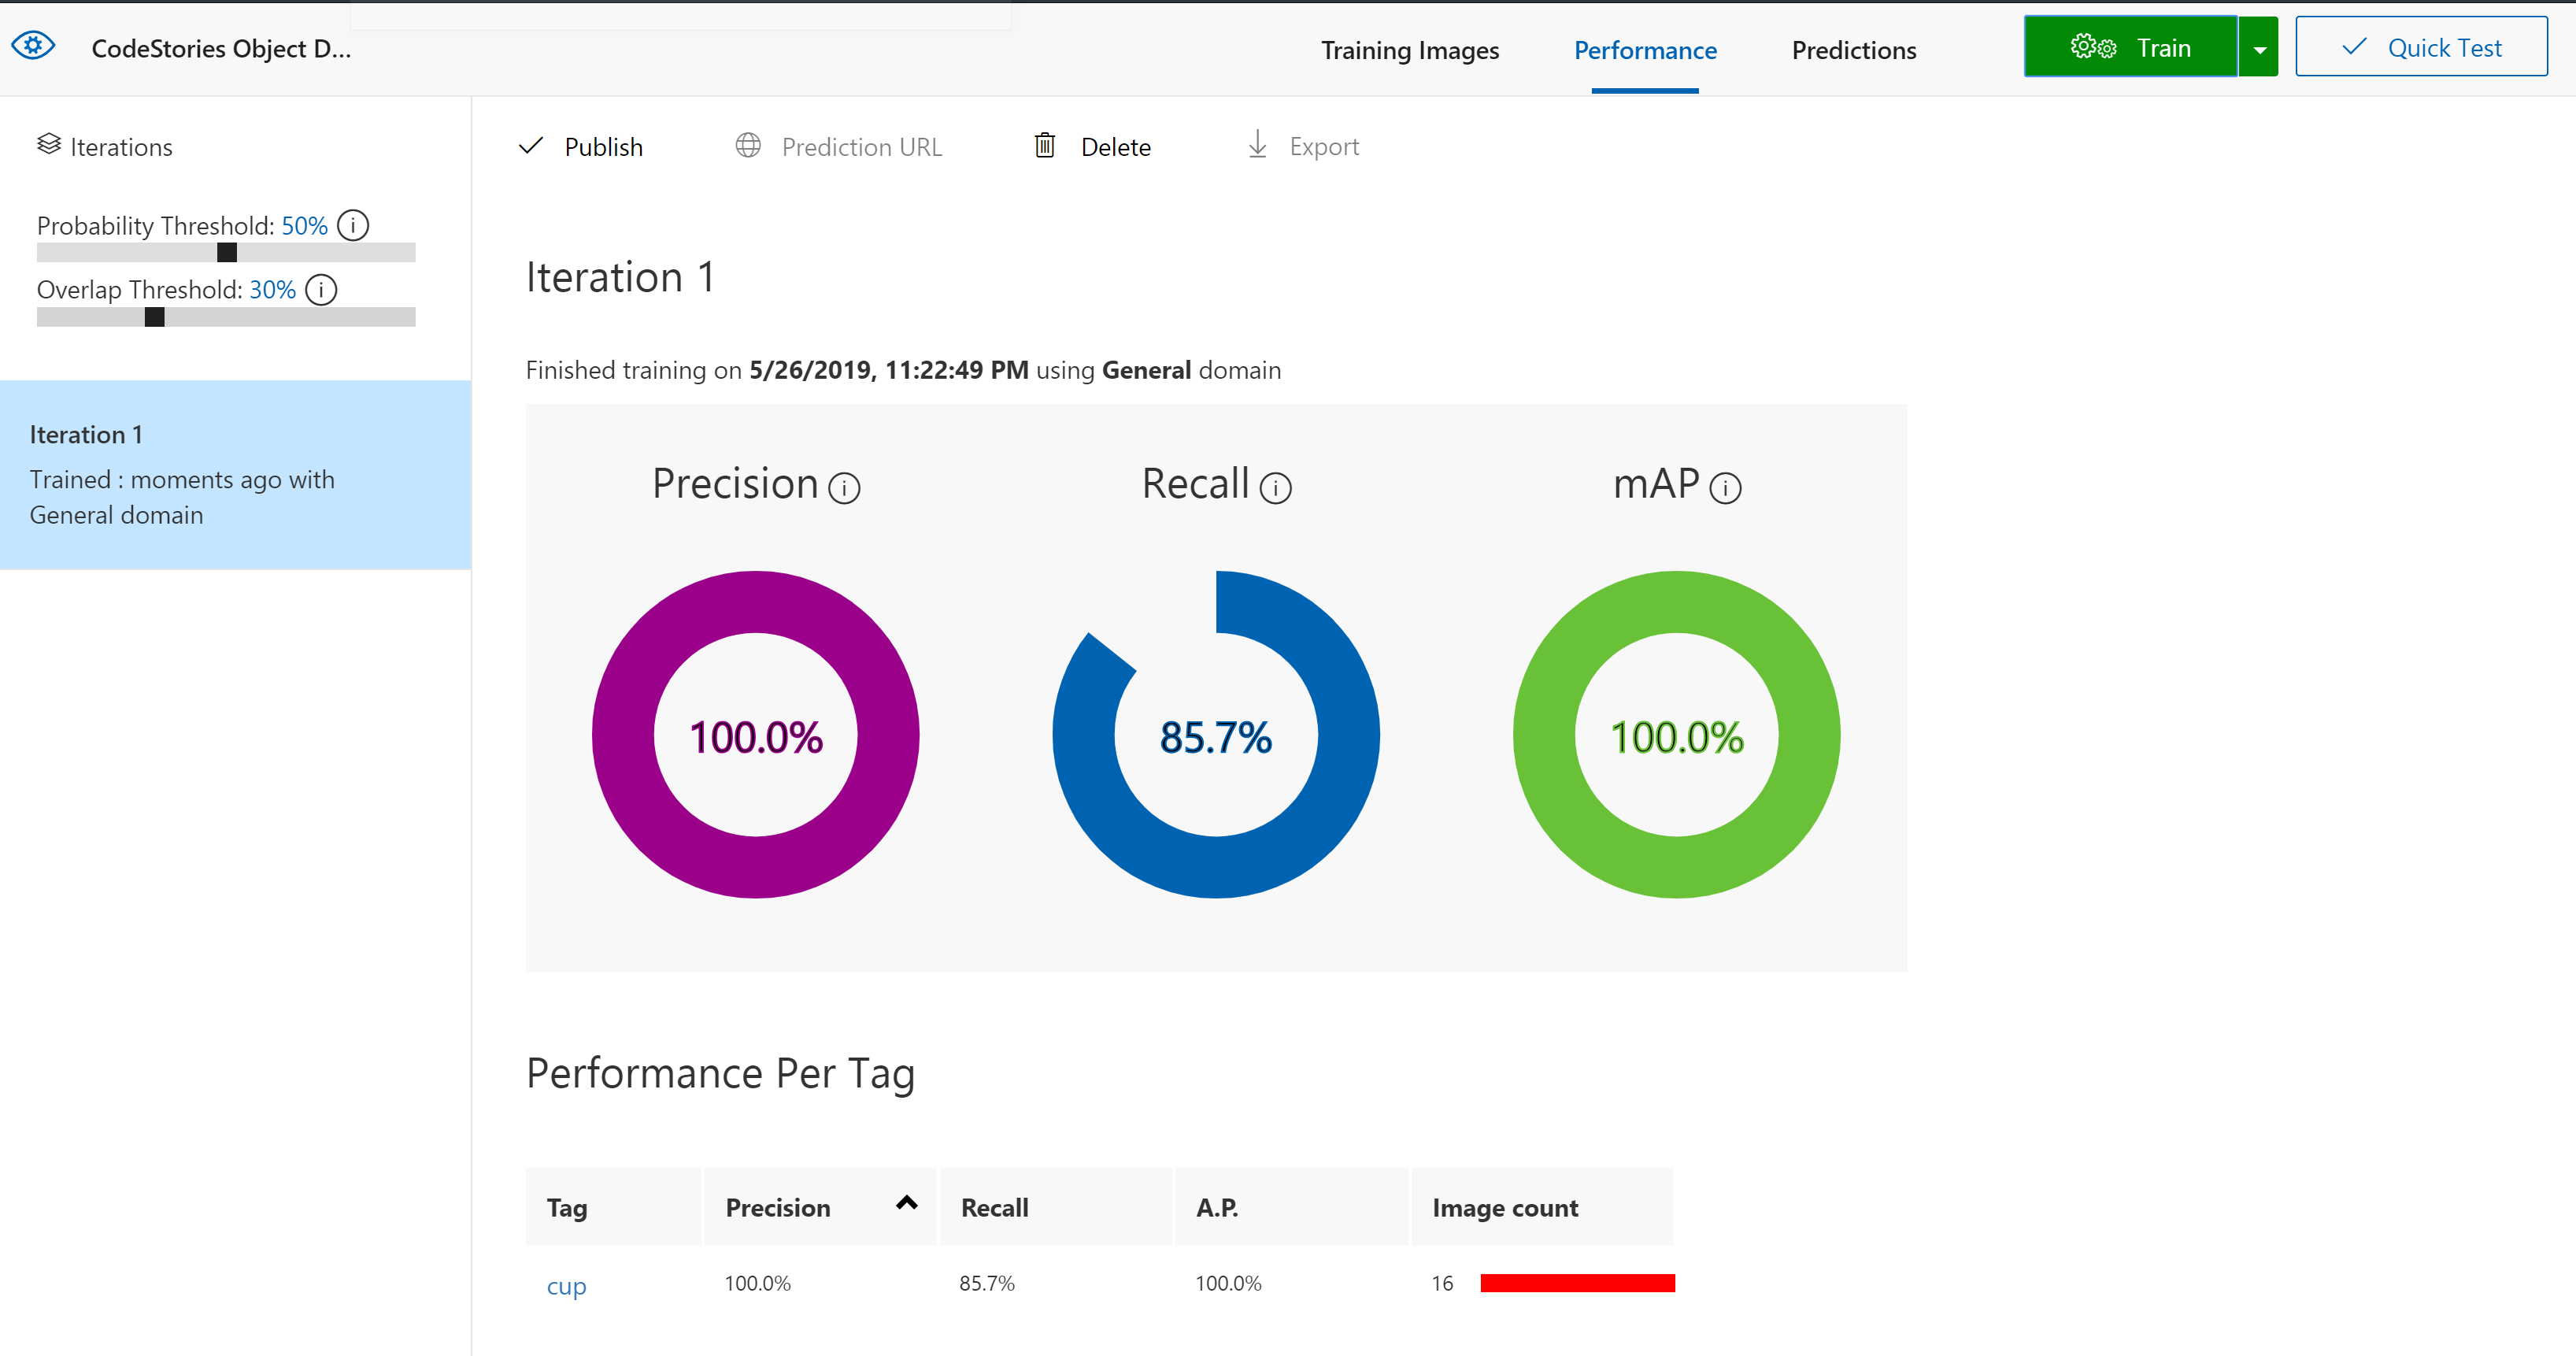
Train the Model by clicking the Train button on top.
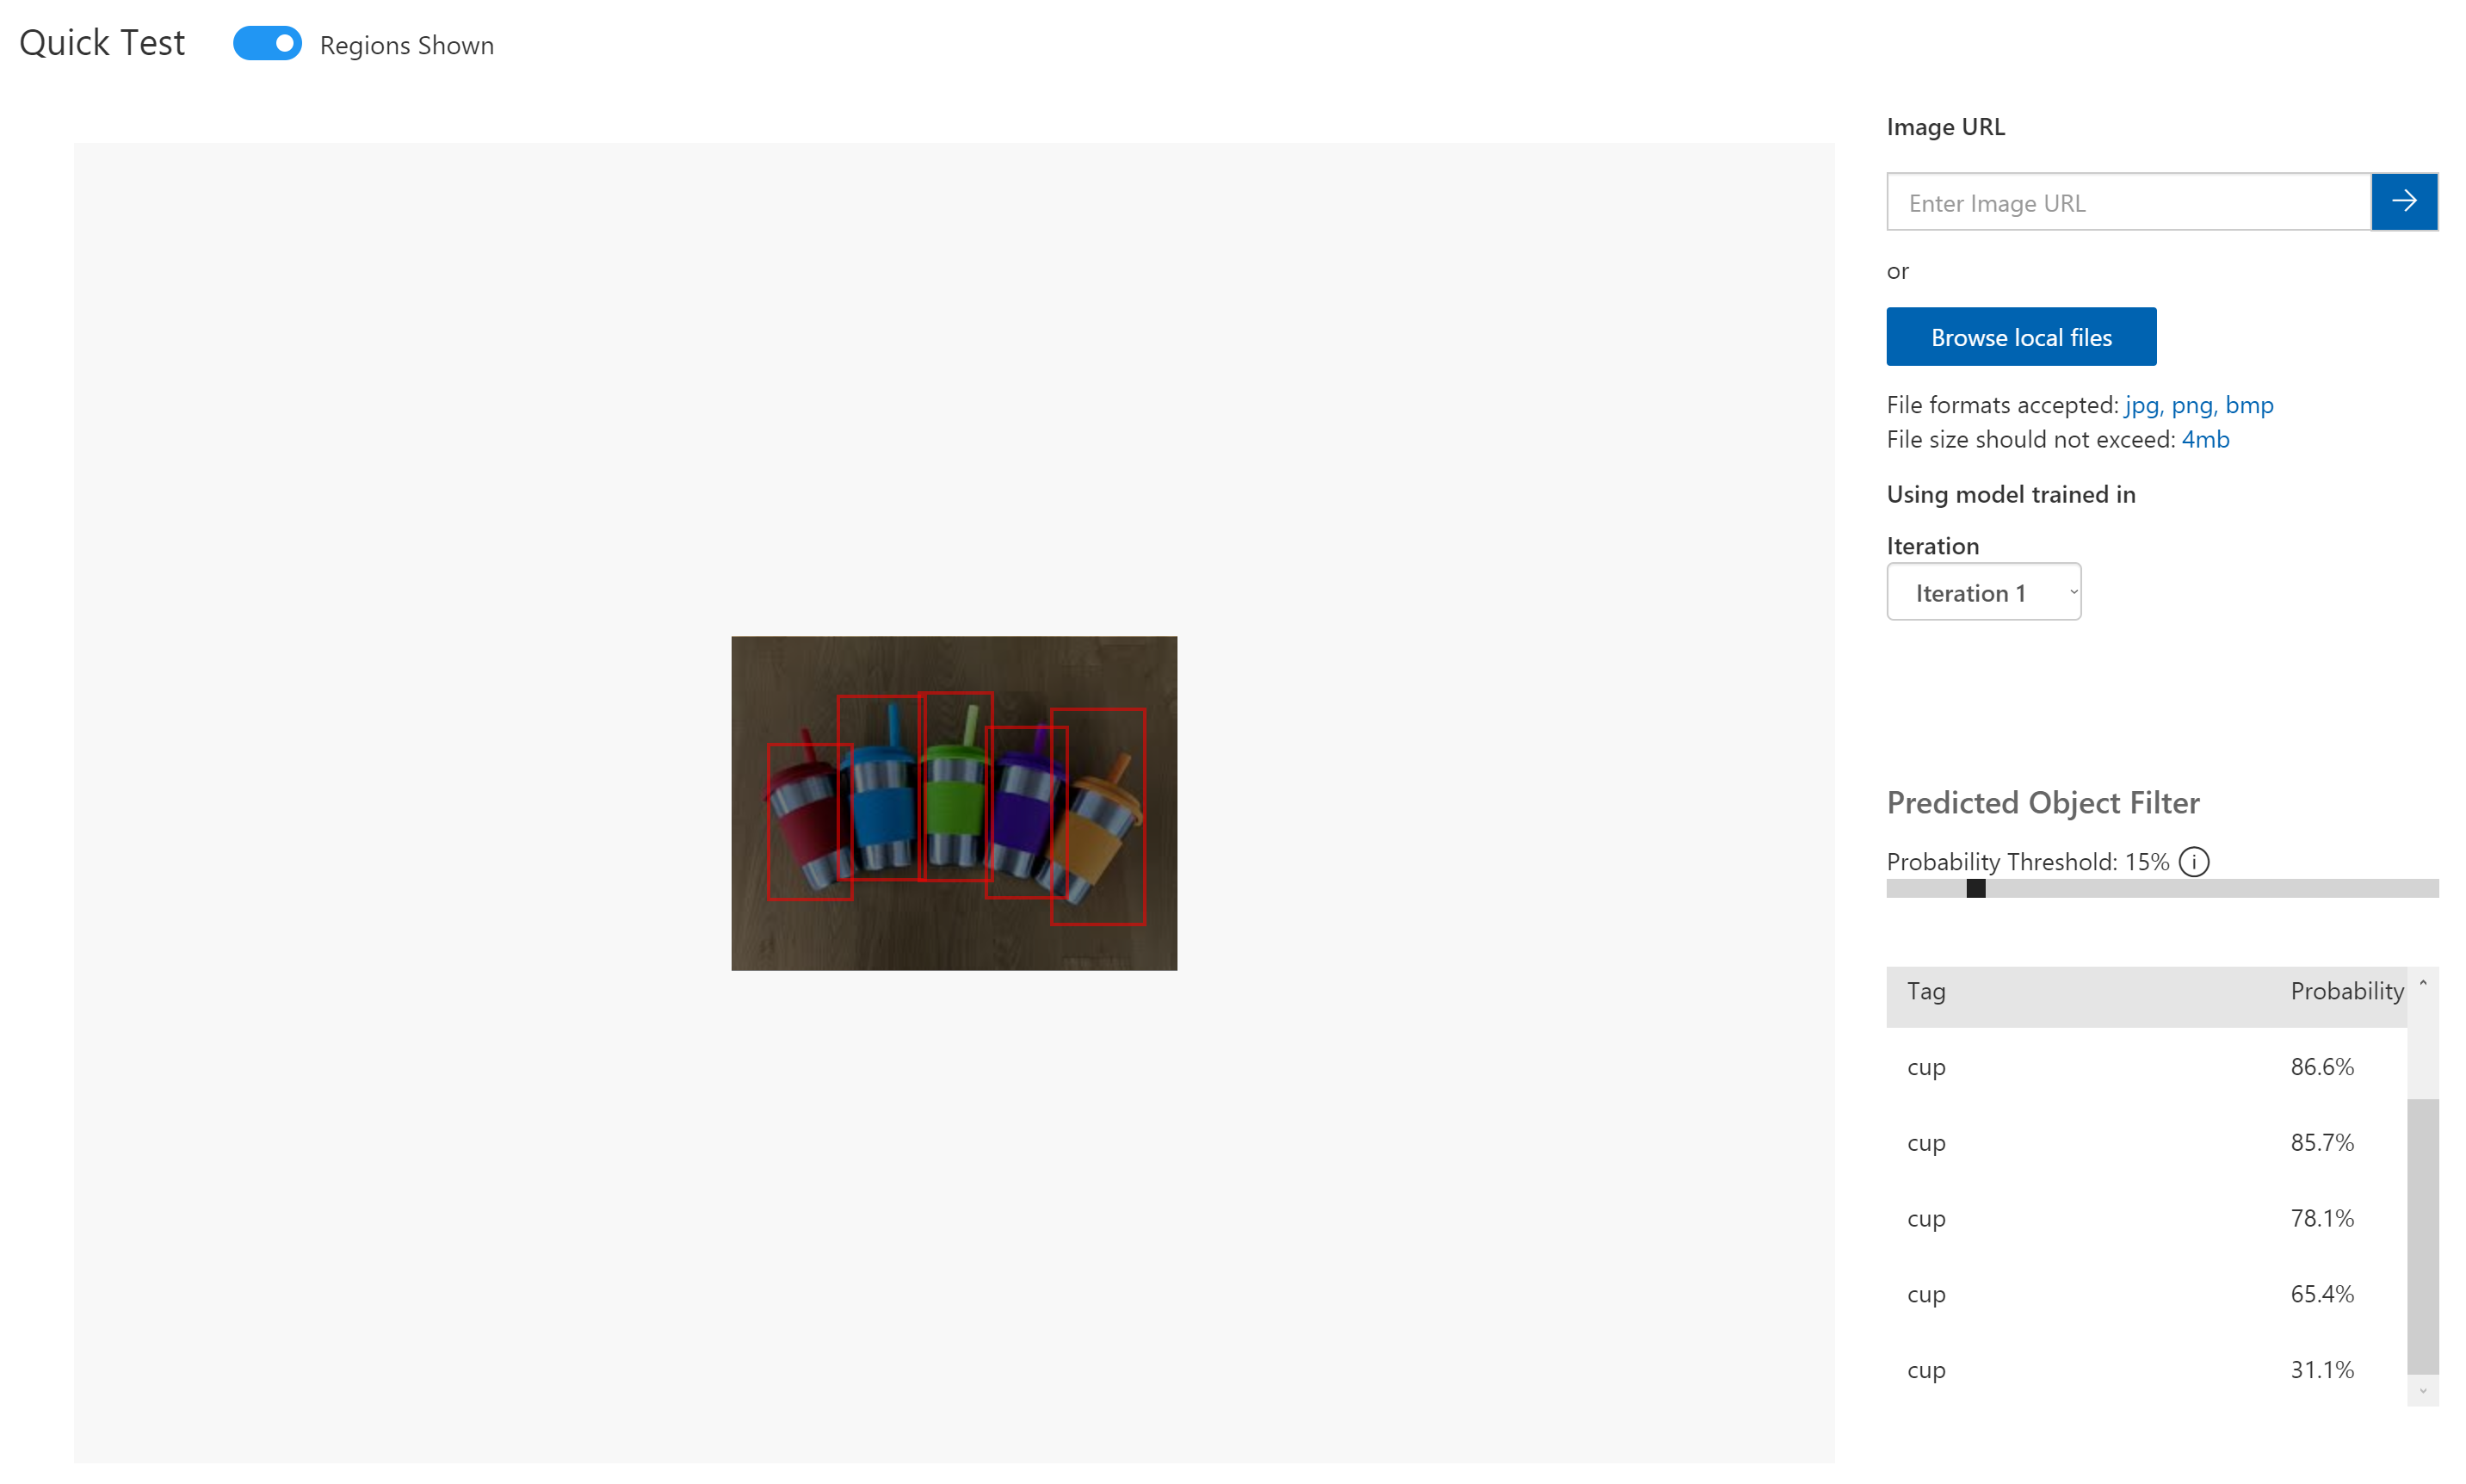
Use the Quick Test button to test the results with new images. On the bottom right you can see all the rectangle this label was found and the probability of this object being a cup. You can train your model with multiple images to detect several objects in a picture.
You are ready! Re-train and test as many times as you need to get satisfying results.
Project Settings and API Keys
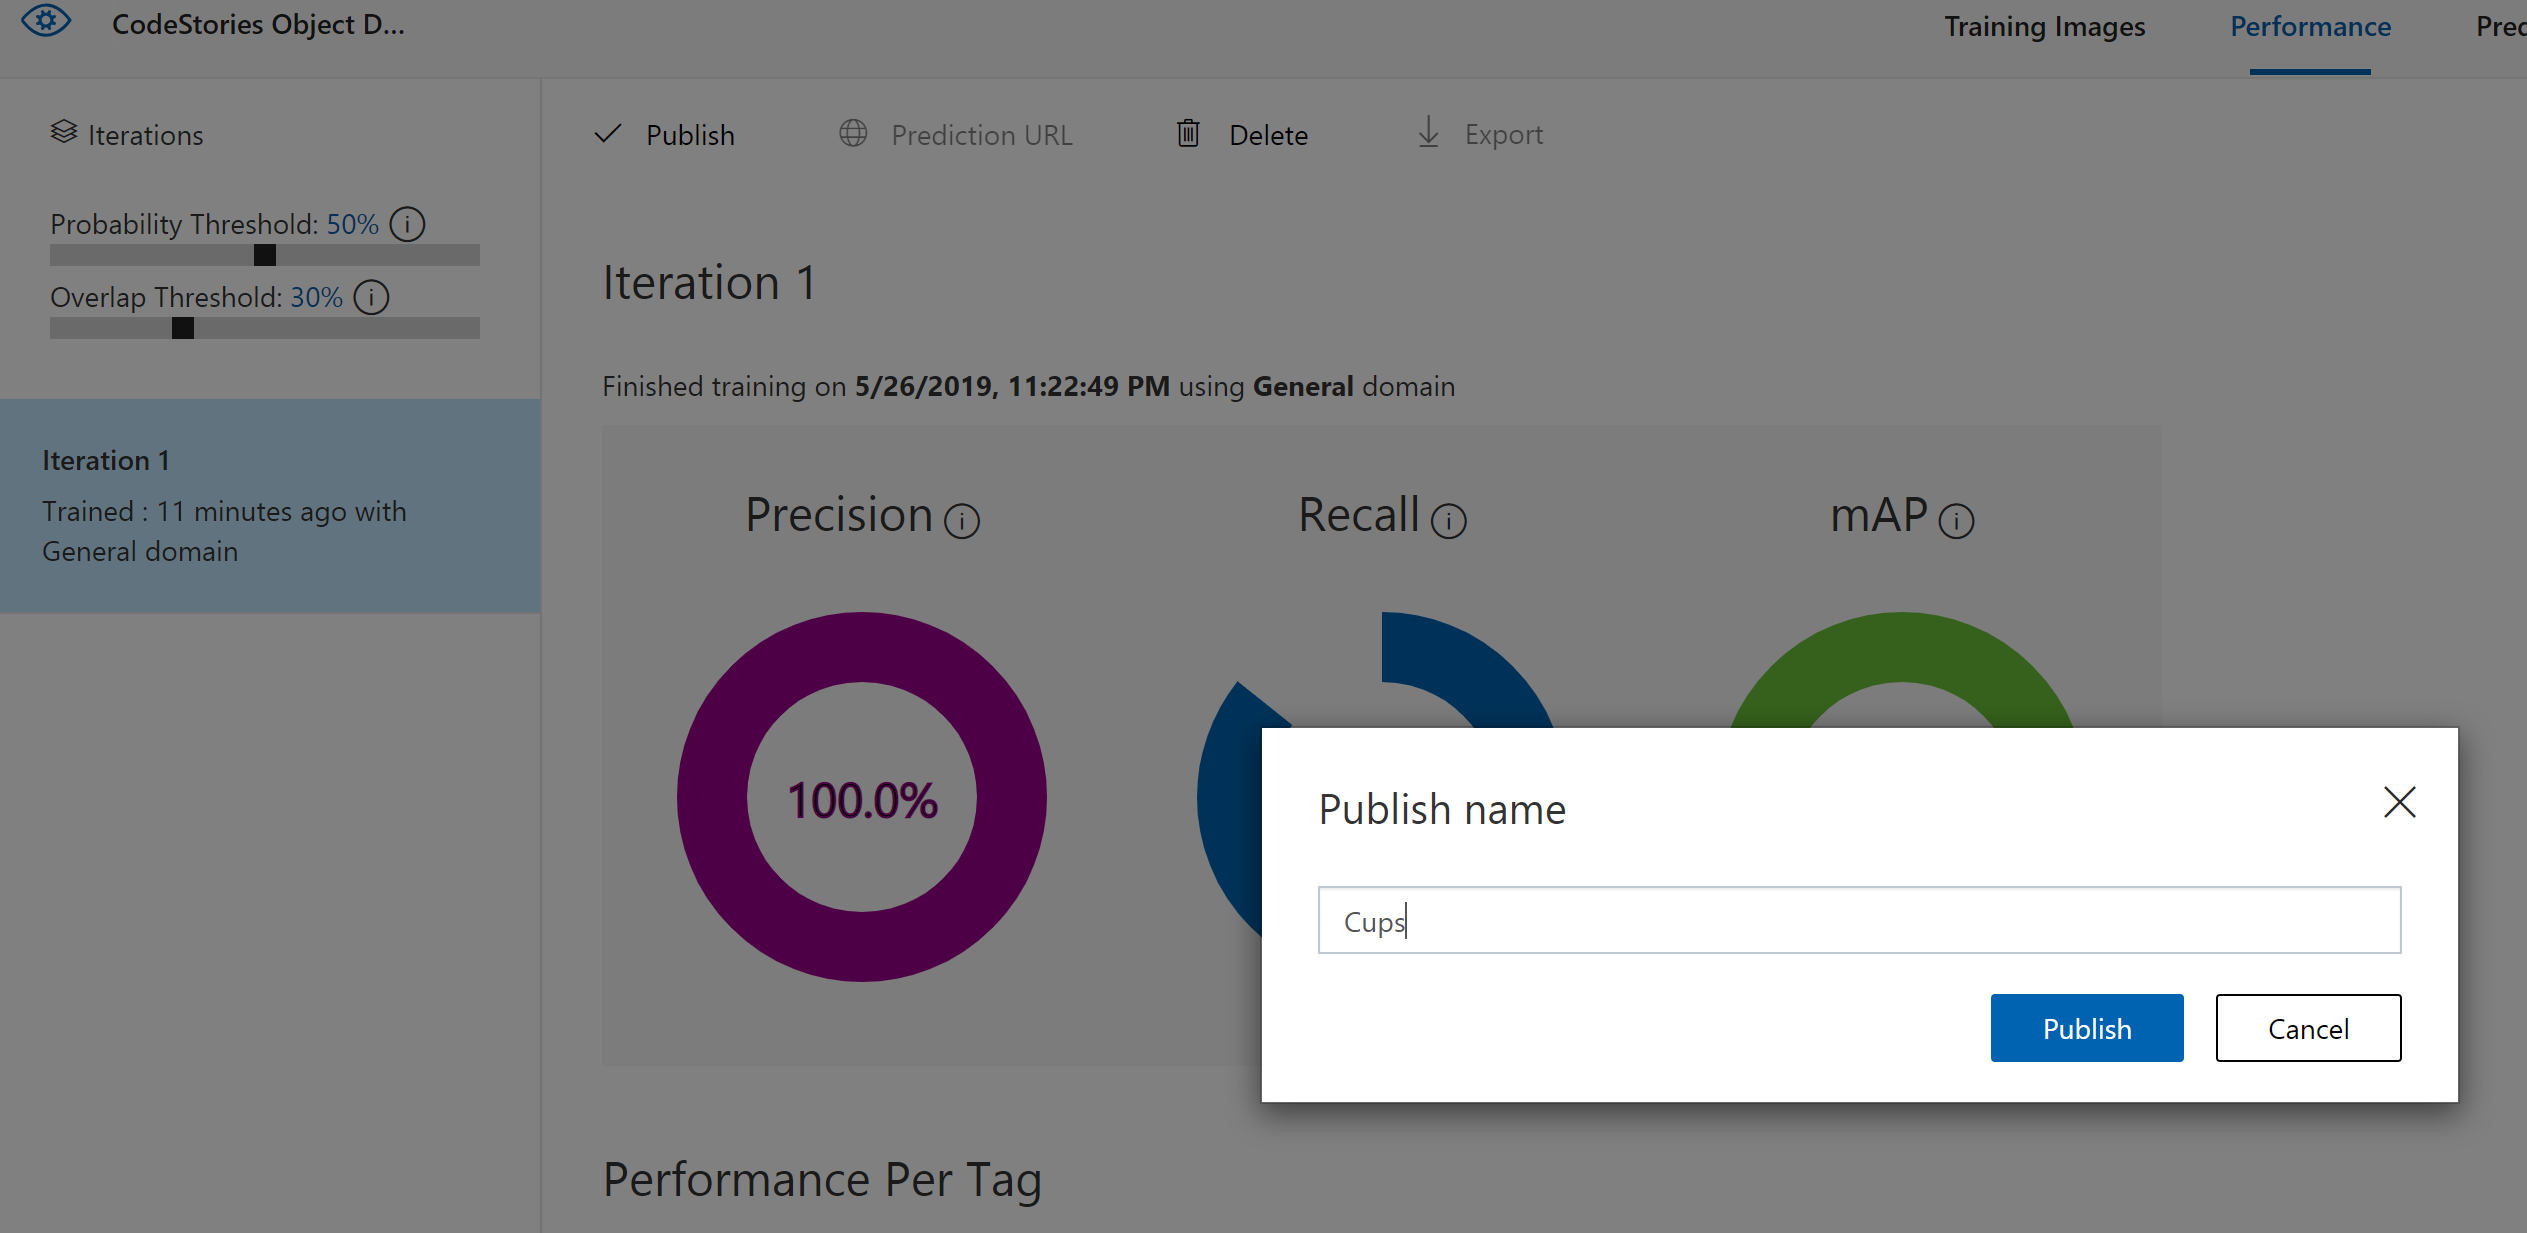
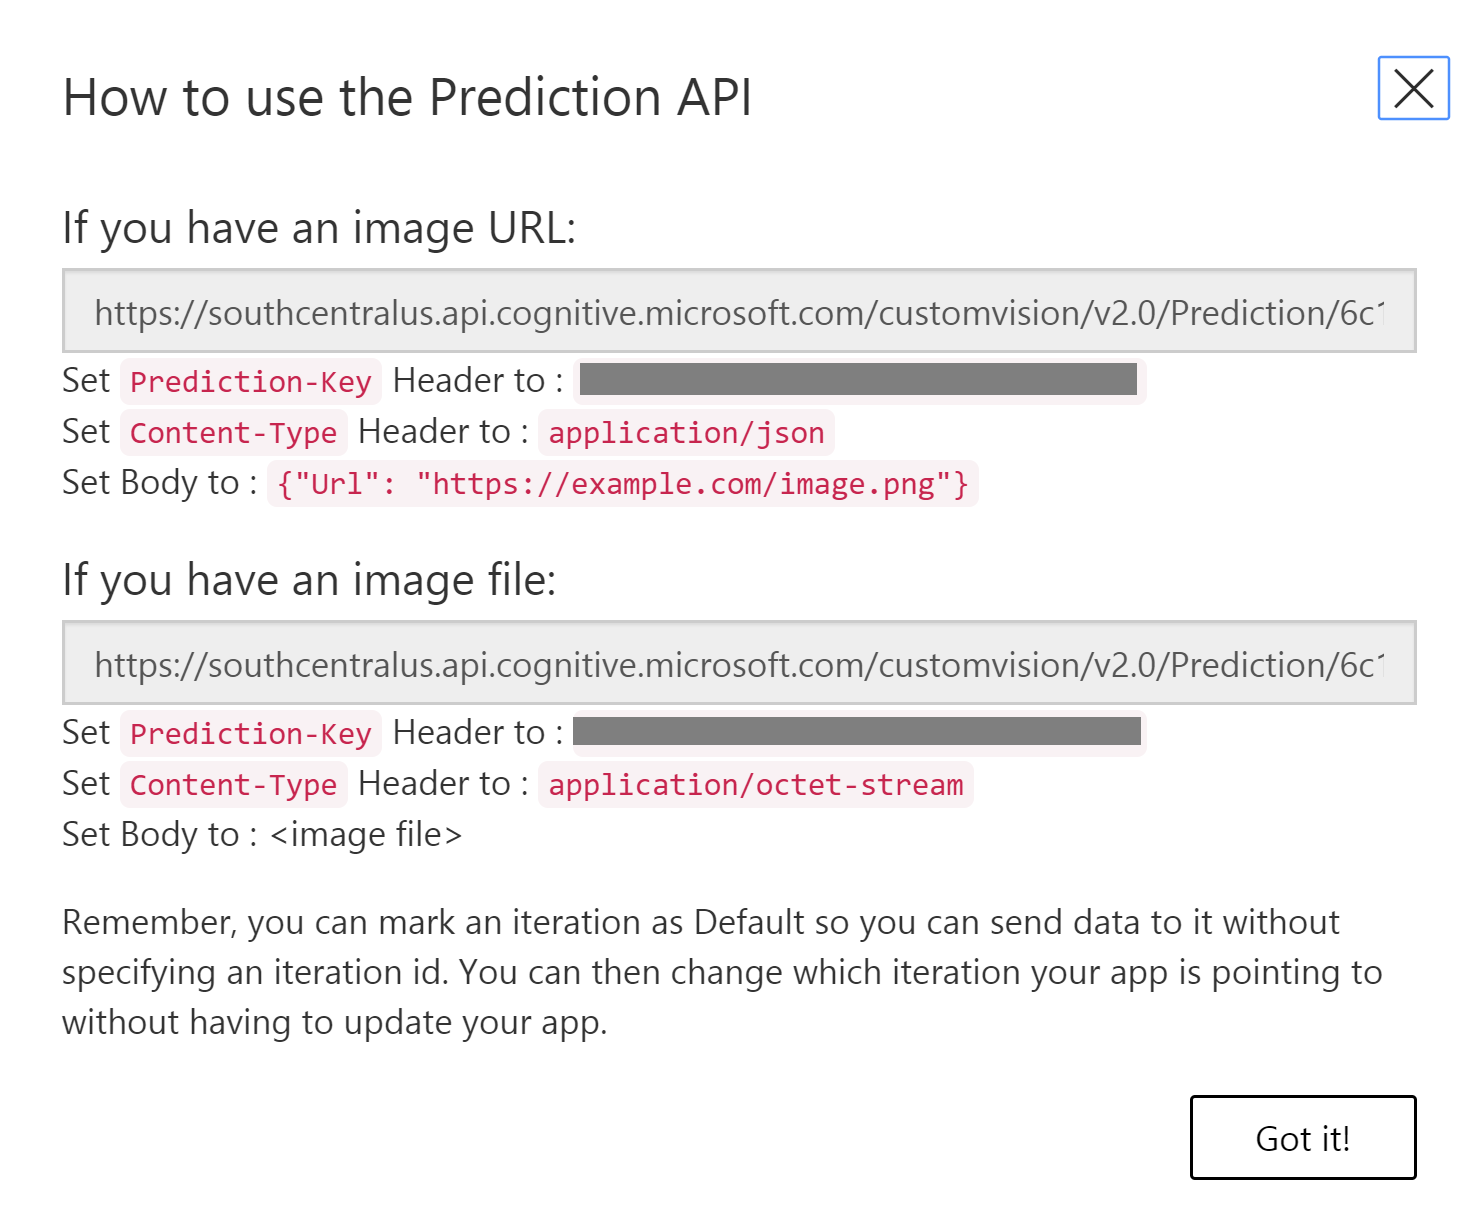
Once you are ready publish the API.
To see how to call the API click on the Prediction URL and see the parameters you need to call the API and get results.
By clicking the gear icon you can see all the Project Settings.
Another way to use the model you just trained is to export the model.
Export the trained model
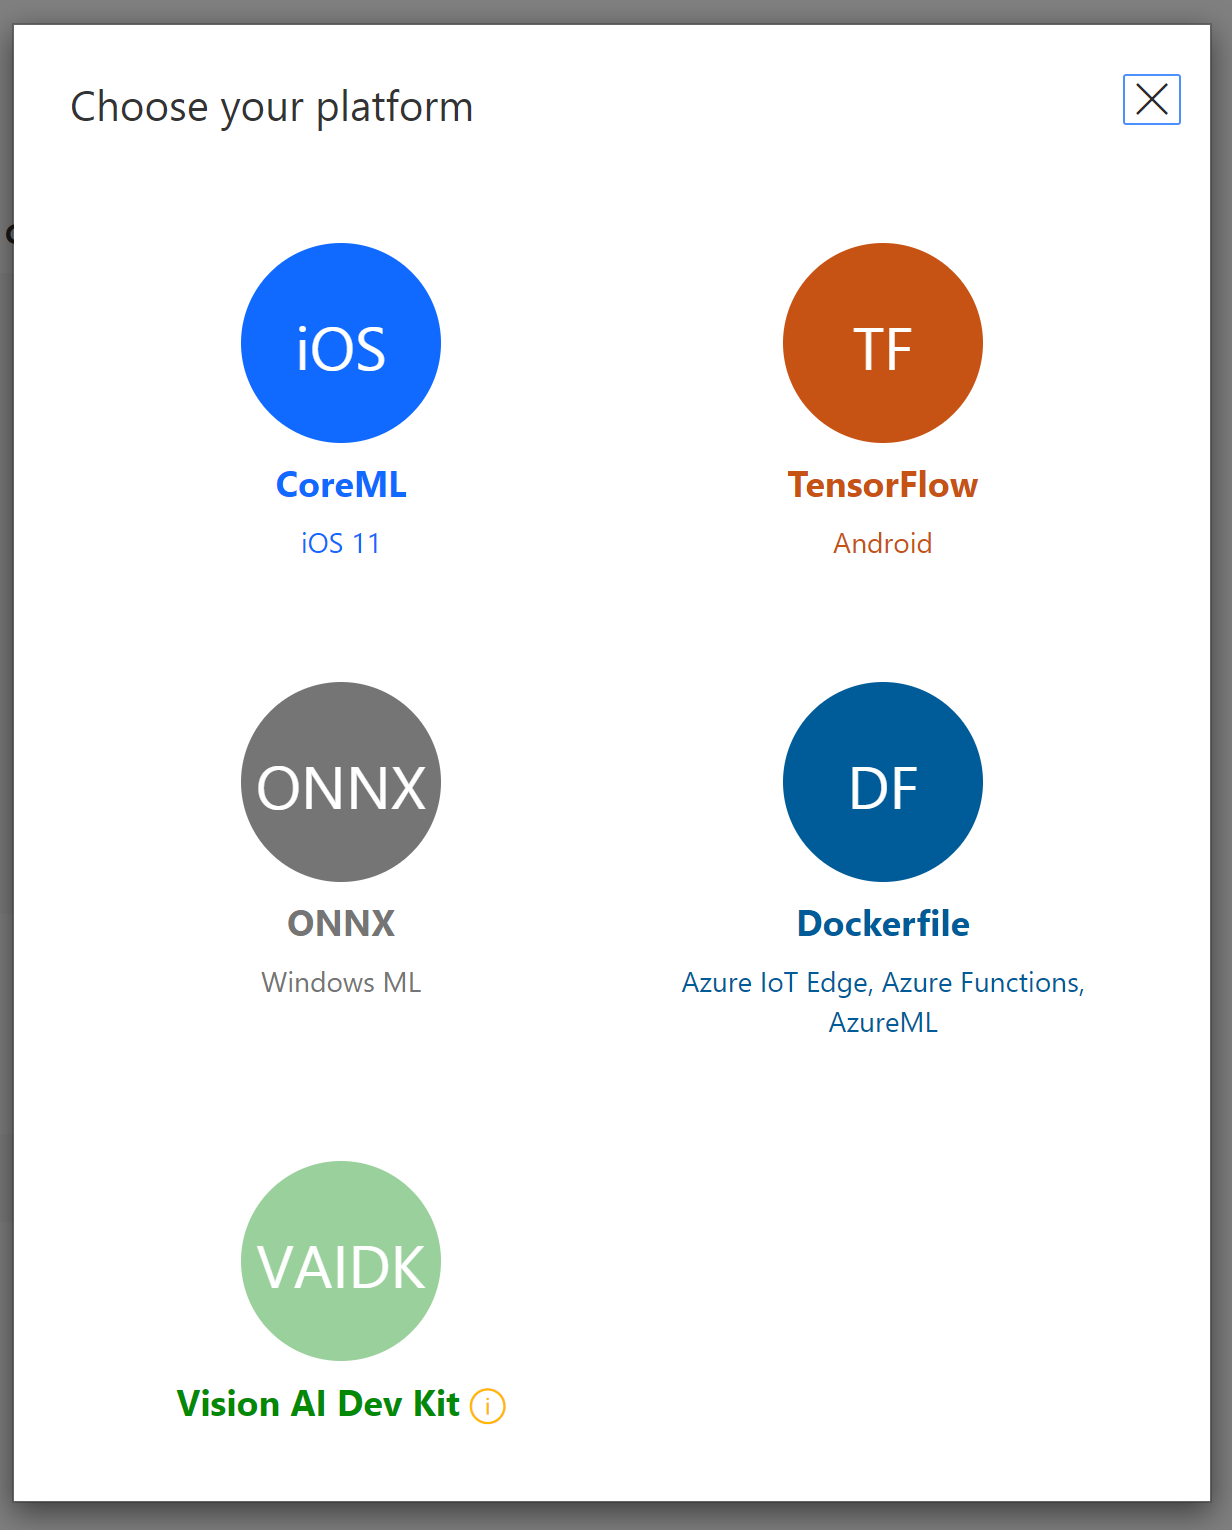
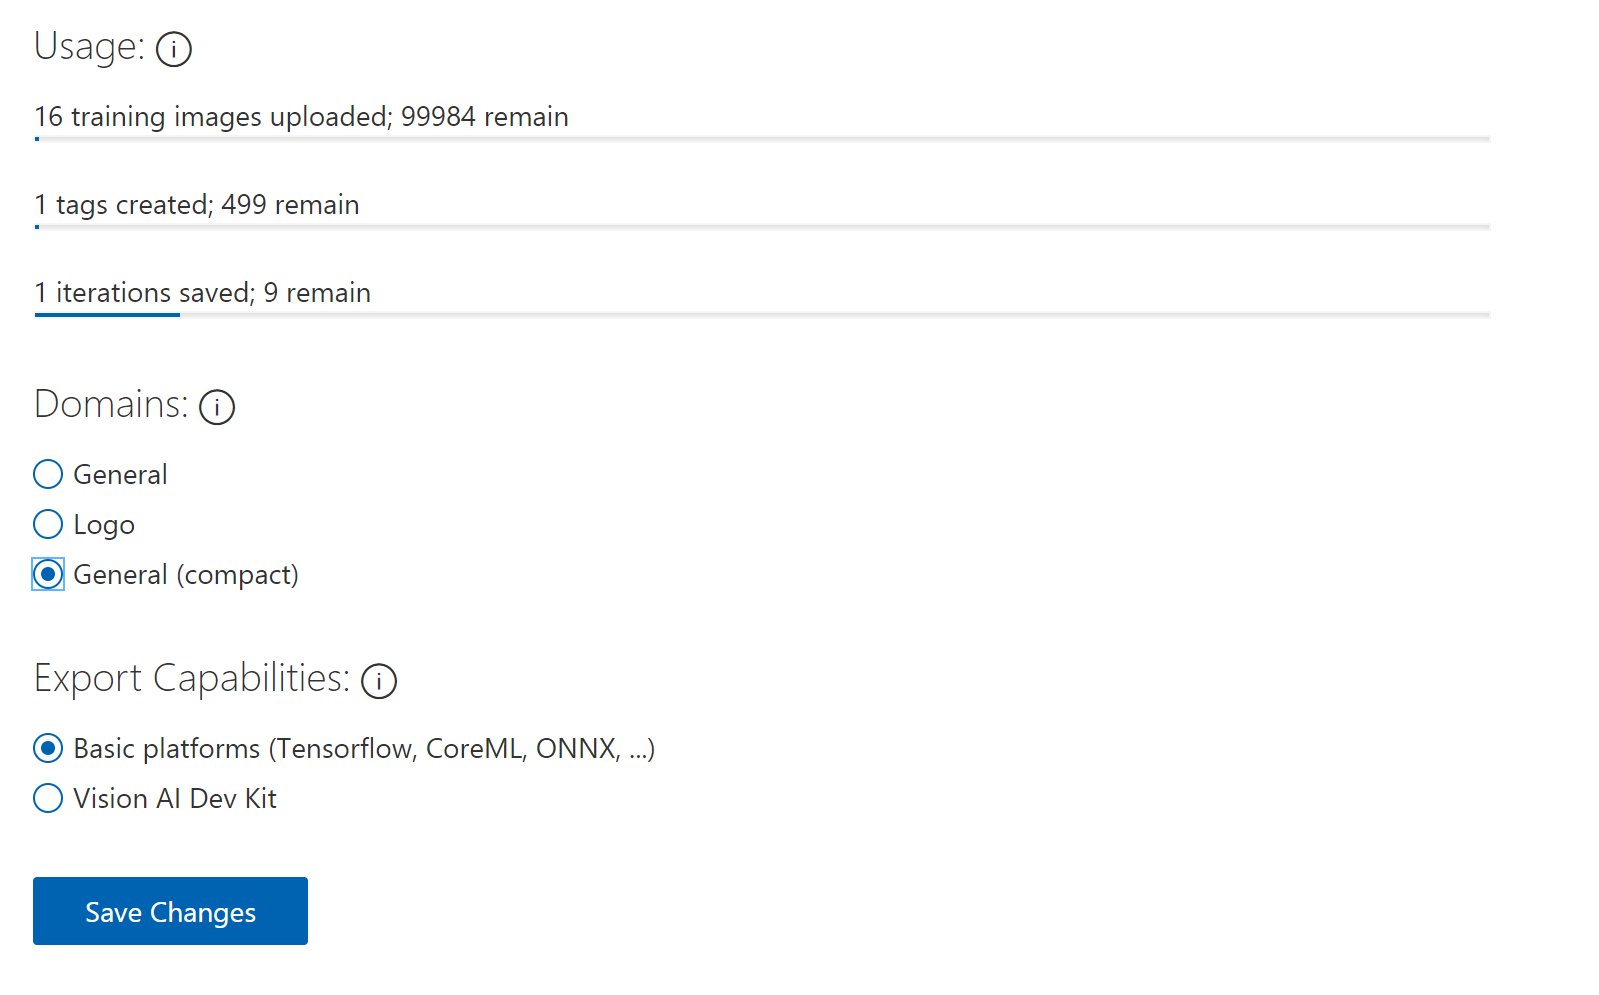
Go to the Project settings (gear icon) and find the domains. Choose General (Compact), fill out the export optoins and click Save Changes
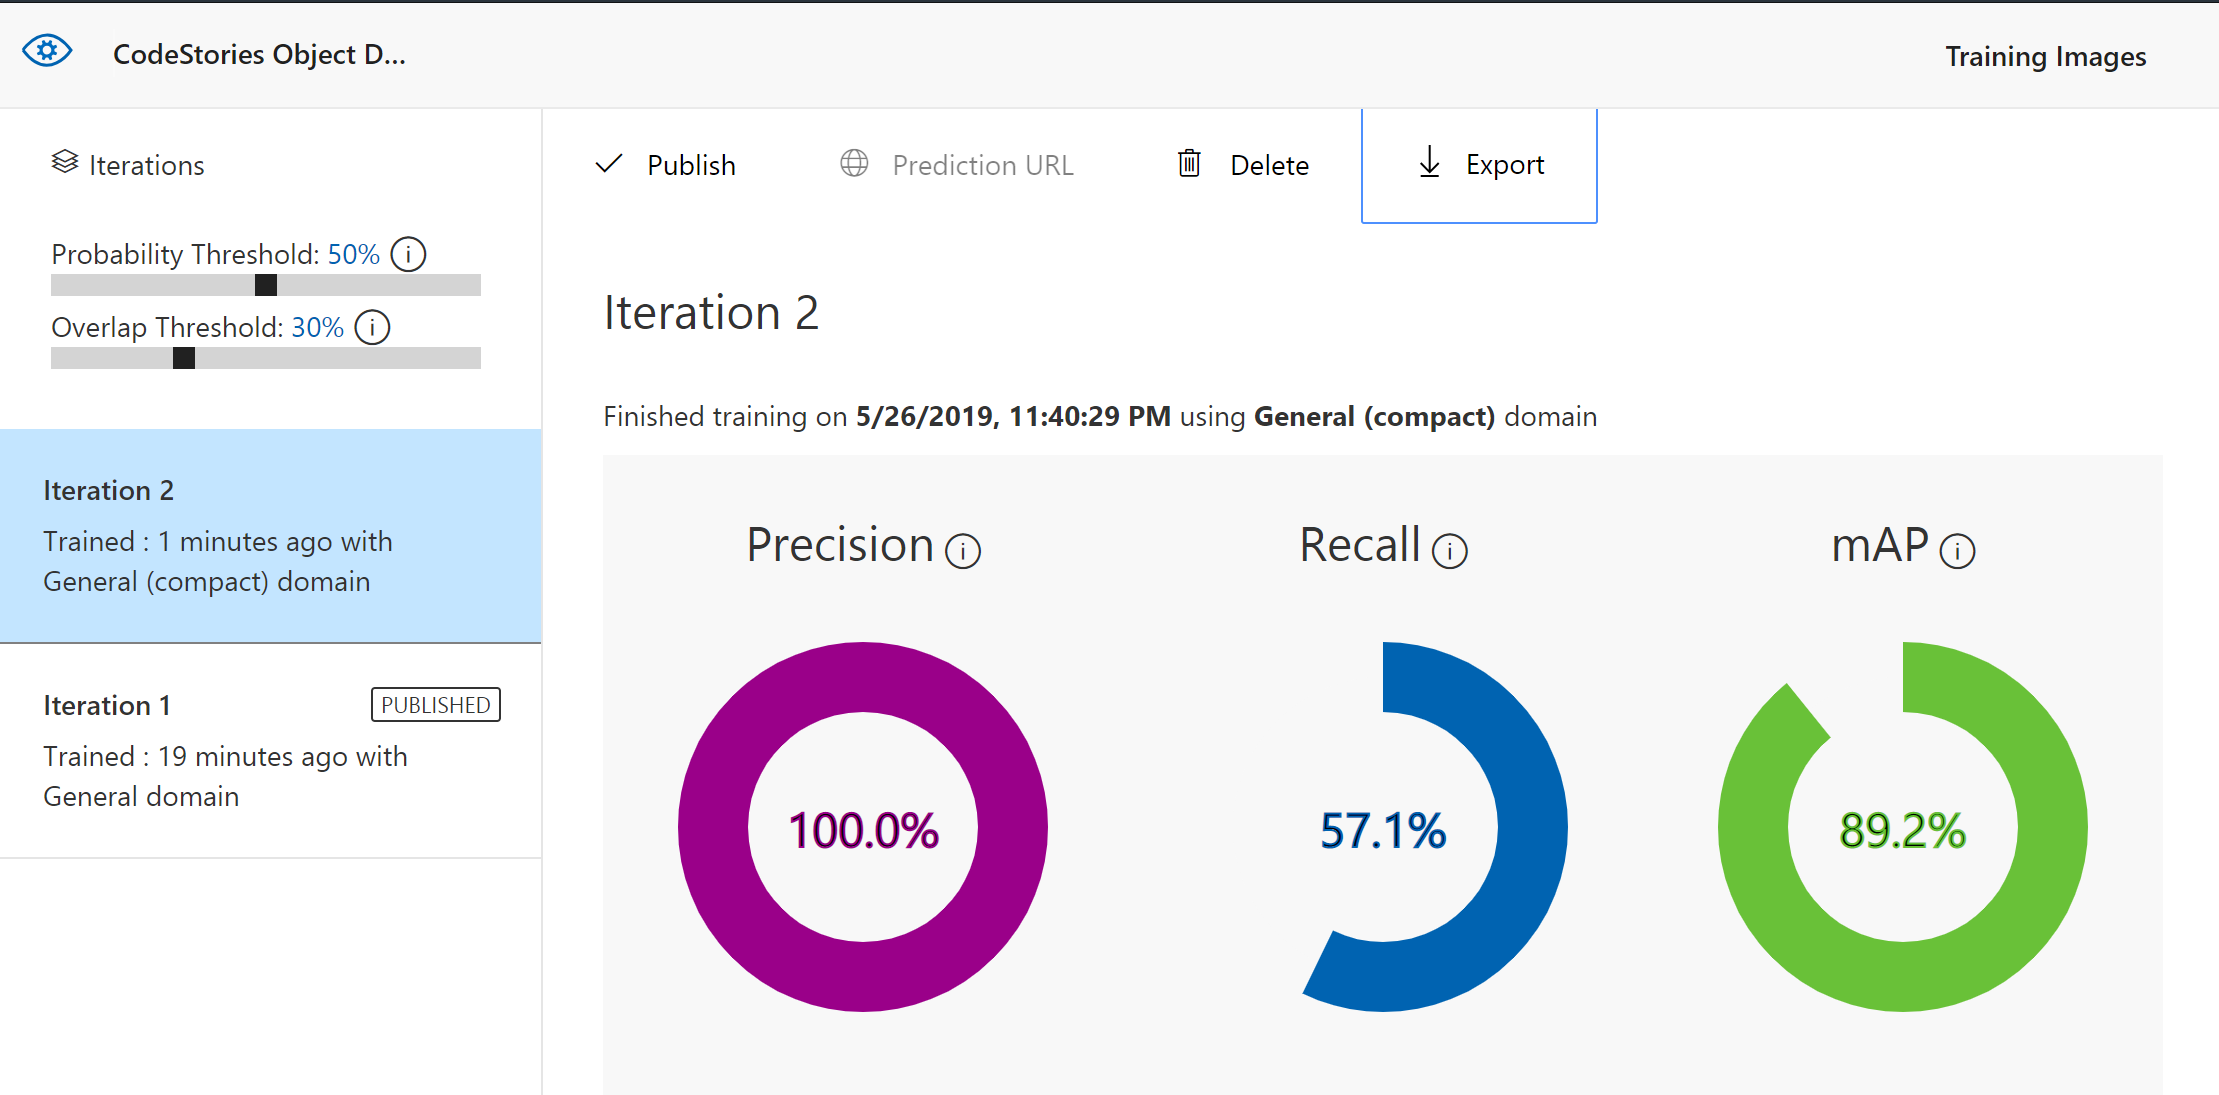
Re-train and publish the model and the Export button should become enabled.
Choose the export format and now you can use your model with Azure ML, Tensorflow or any other framework supported.