


Chat bots are everywhere they help us order food, learn news, shop for clothes, save money and find restaurants. Chat bots can be smart or just assist us by understanding simple commands. This tutorial is the first in a series to build your own smart chat bot. In this tutorial we are going to build a basic echo bot with the Microsoft Bot Framework SDK and run it locally.
Prerequisites
- To run the sample code you must have Visual Studio 2017 installed
- You will need the Microsoft Bot Framework SDK v4 template for C#
- To run and test the bot you will need the Bot Framework Emulator
Create a simple bot
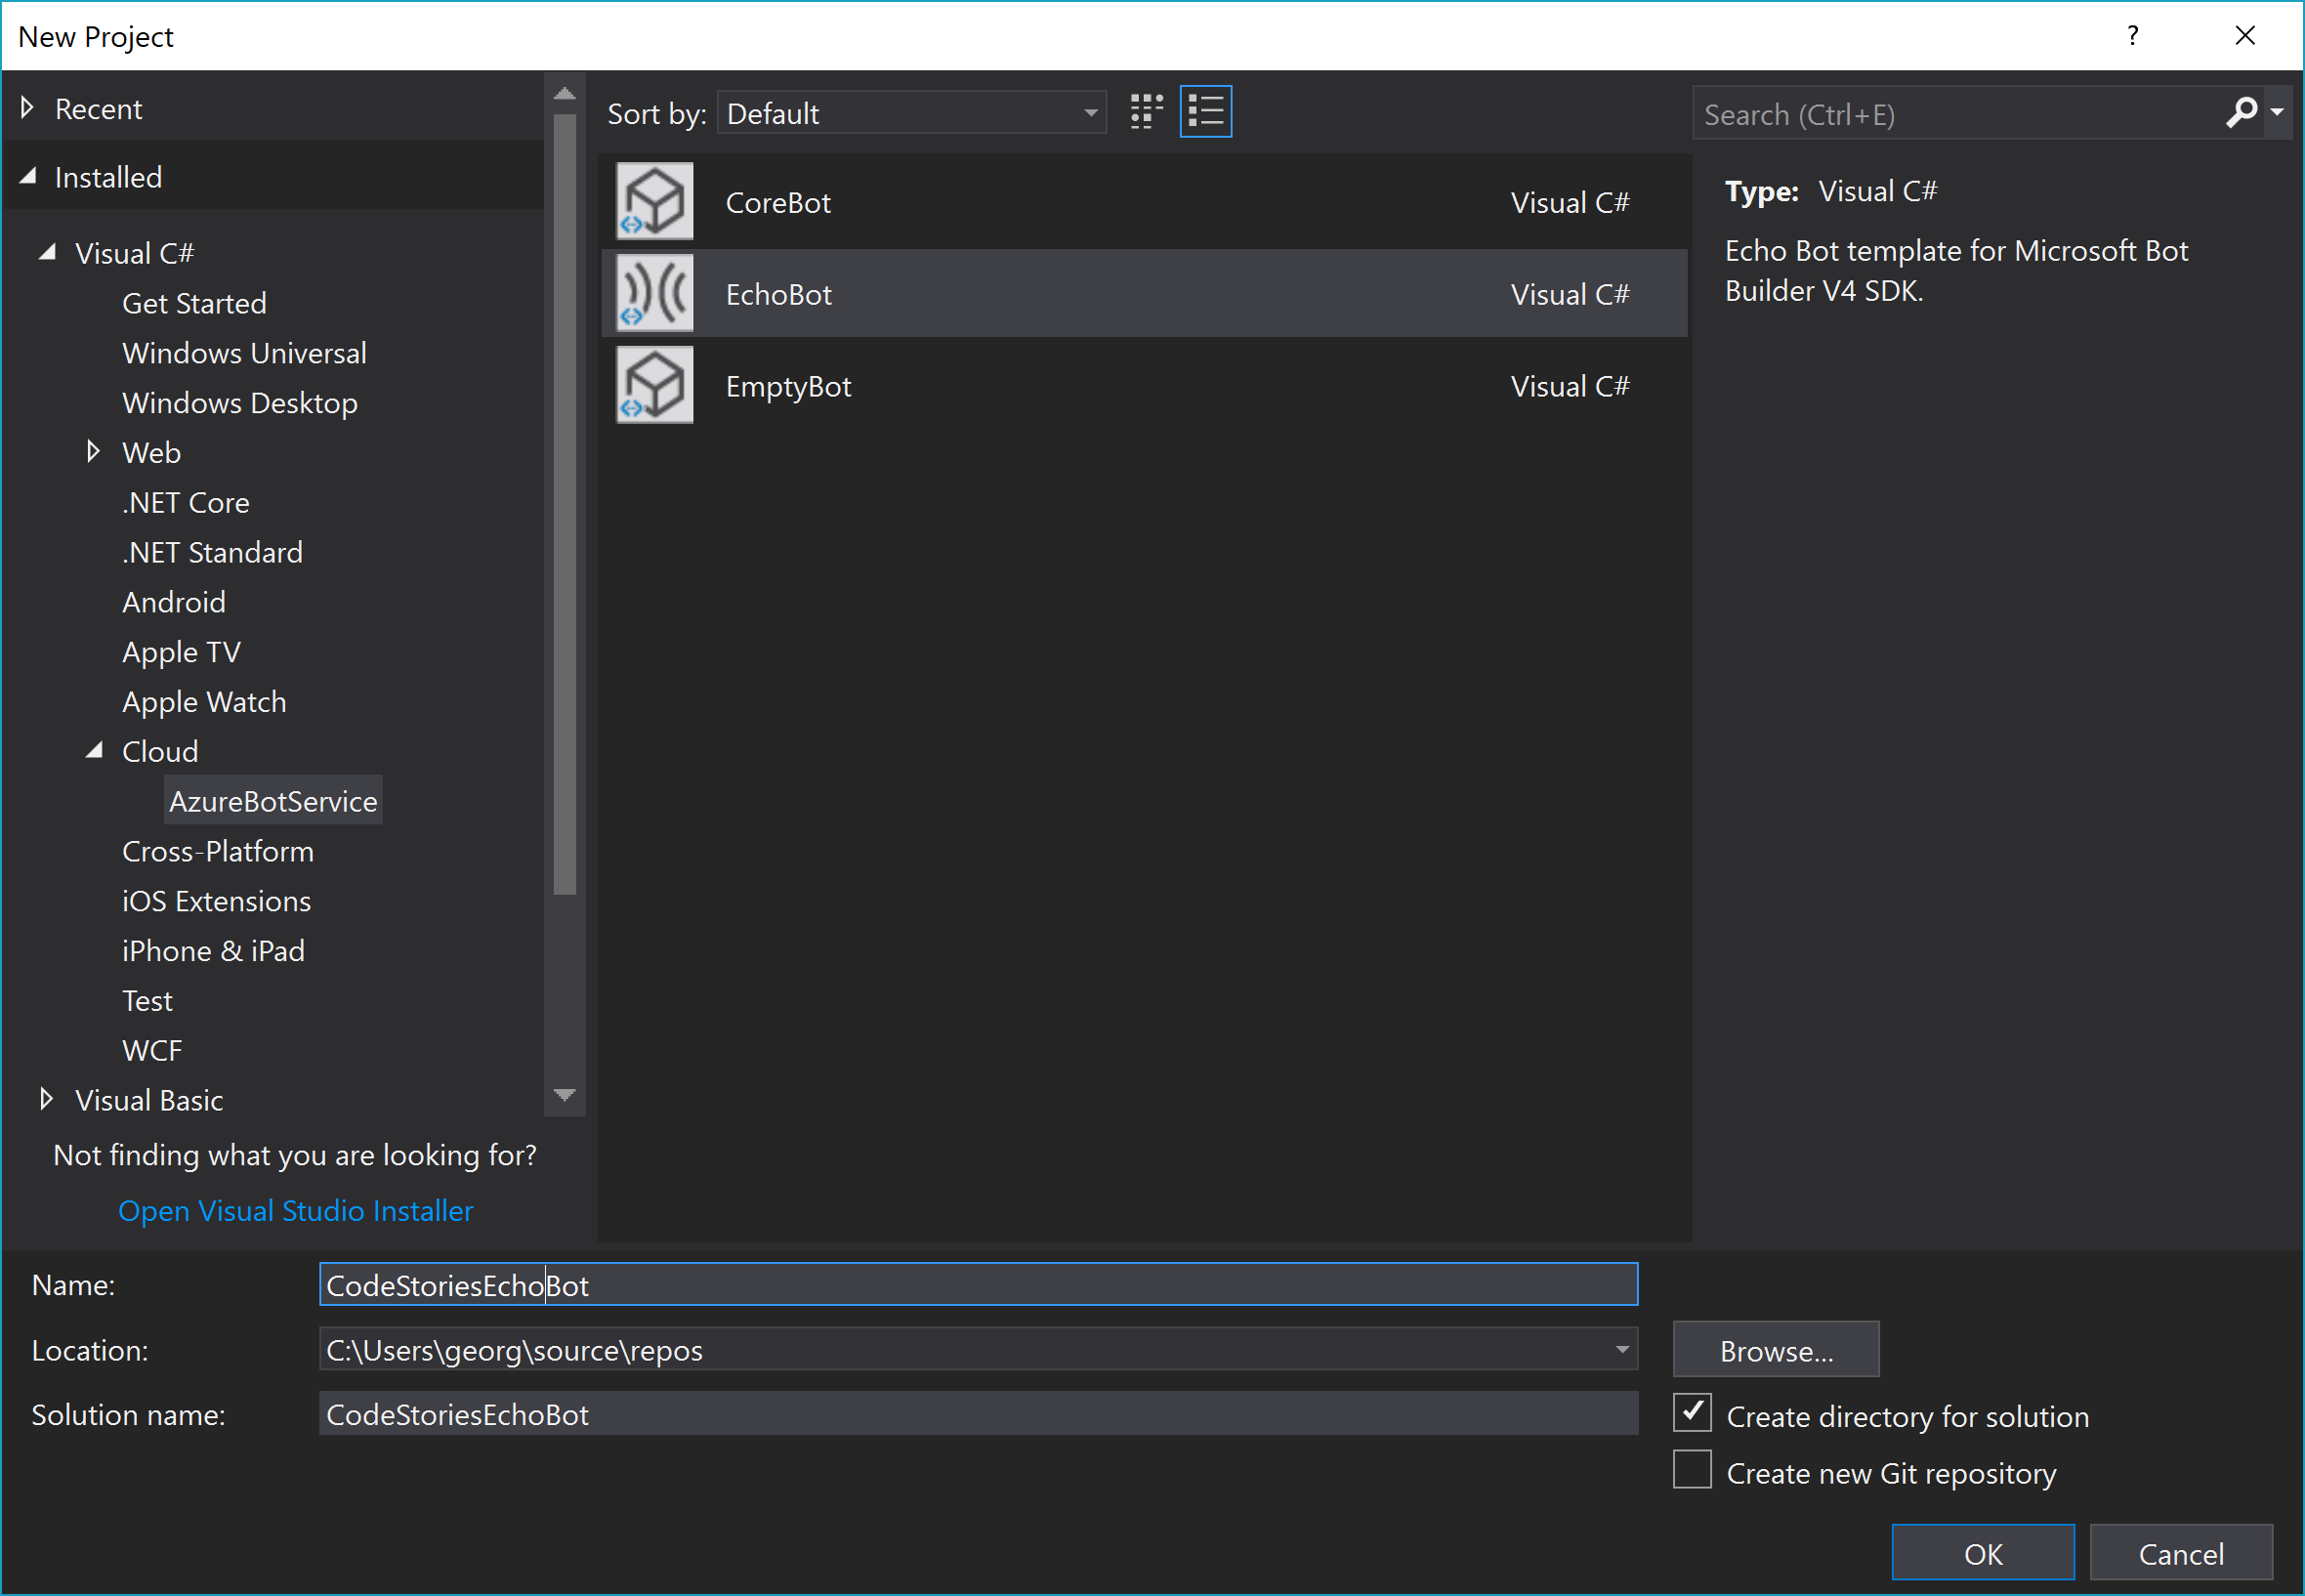
Install the BotBuilderVSIX.vsix template that you downloaded in the prerequisites section.
In Visual Studio, create a new bot project using the Bot Framework Echo Bot template. Give it the name you want and create the project.
The startup project contains all the code necessary for a simple bot. Let take a tour of the solution to see all the components. The project is an MVC Core Project so some knowledge of ASP.Net Core and asynchronous programming in C# will be needed. If you feel you are short in that area, try to freshen up what you know after this tutorial.
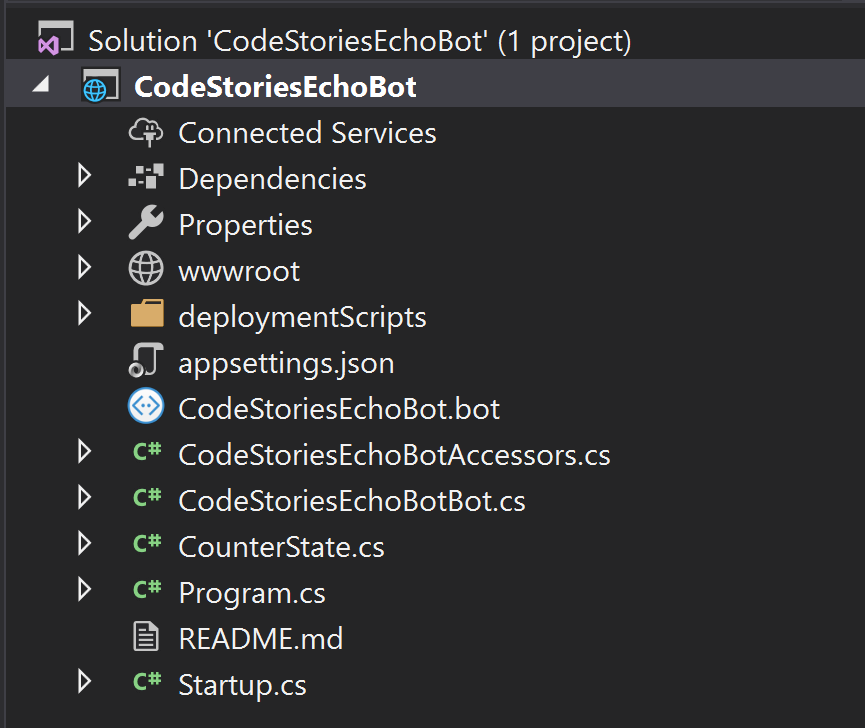
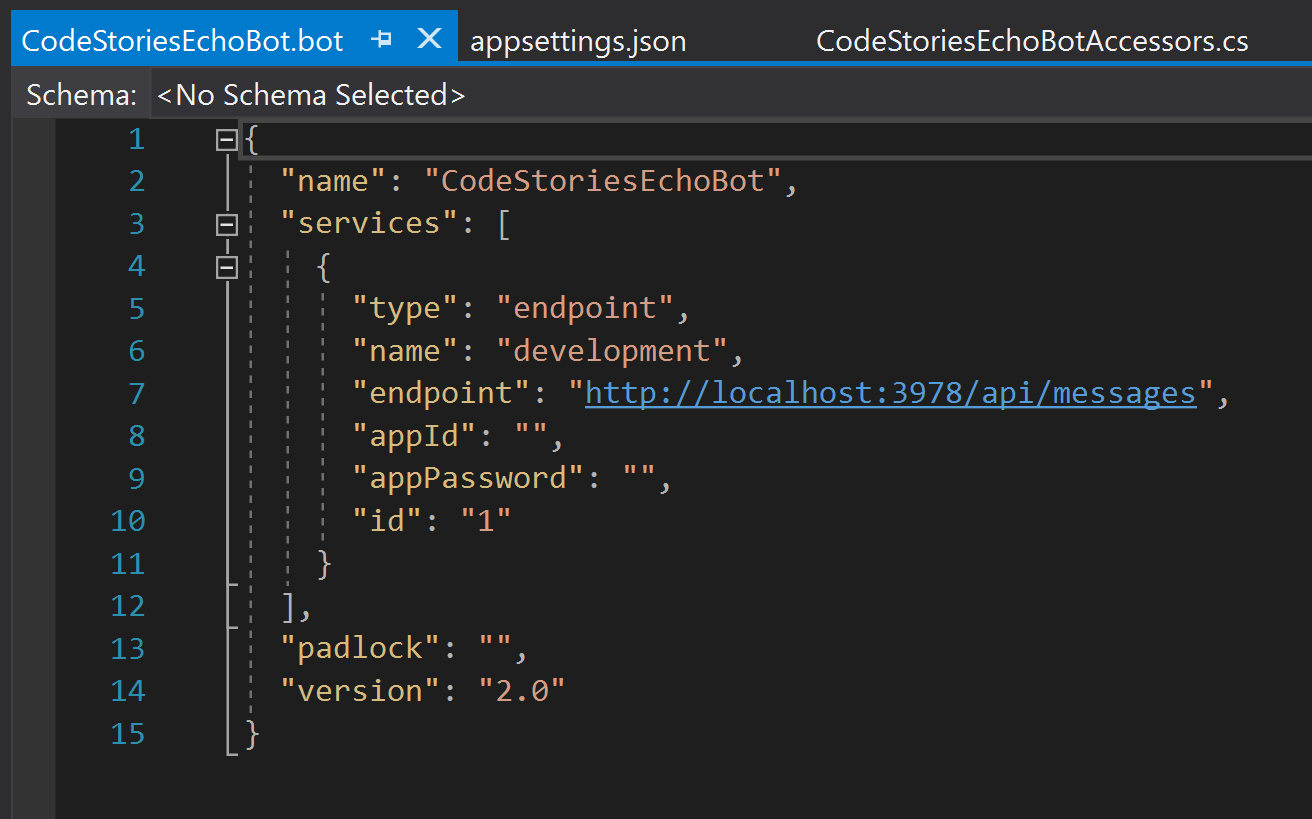
The solution is exactly like an MVC Core Project. The.bot file is the file holding all your bot information and works as a mechanism to manage resources. However it is deprecated so it is advised to move all the resources in the appsettings.json or .env file. To migrate your resources from the bot file to the appsettings.json file follow the steps in this guide.
Any code you will need to add will be in the CodeStoriesEchoBot.cs file. Find the OnTurnAsync method. This method will be called everytime it is the bot’s turn to respond. Since this is a simple bot, it repeats the what the user writes, there is no dialogs. We are going to see the dialog part in the next tutorial in this series.
Run the Bot
When you click the run button, Visual Studio will build the application, deploy it to localhost, and launch the web browser to display the application’s page. At this point, your bot is running locally. The default.htm page is the applications page and will look like this:
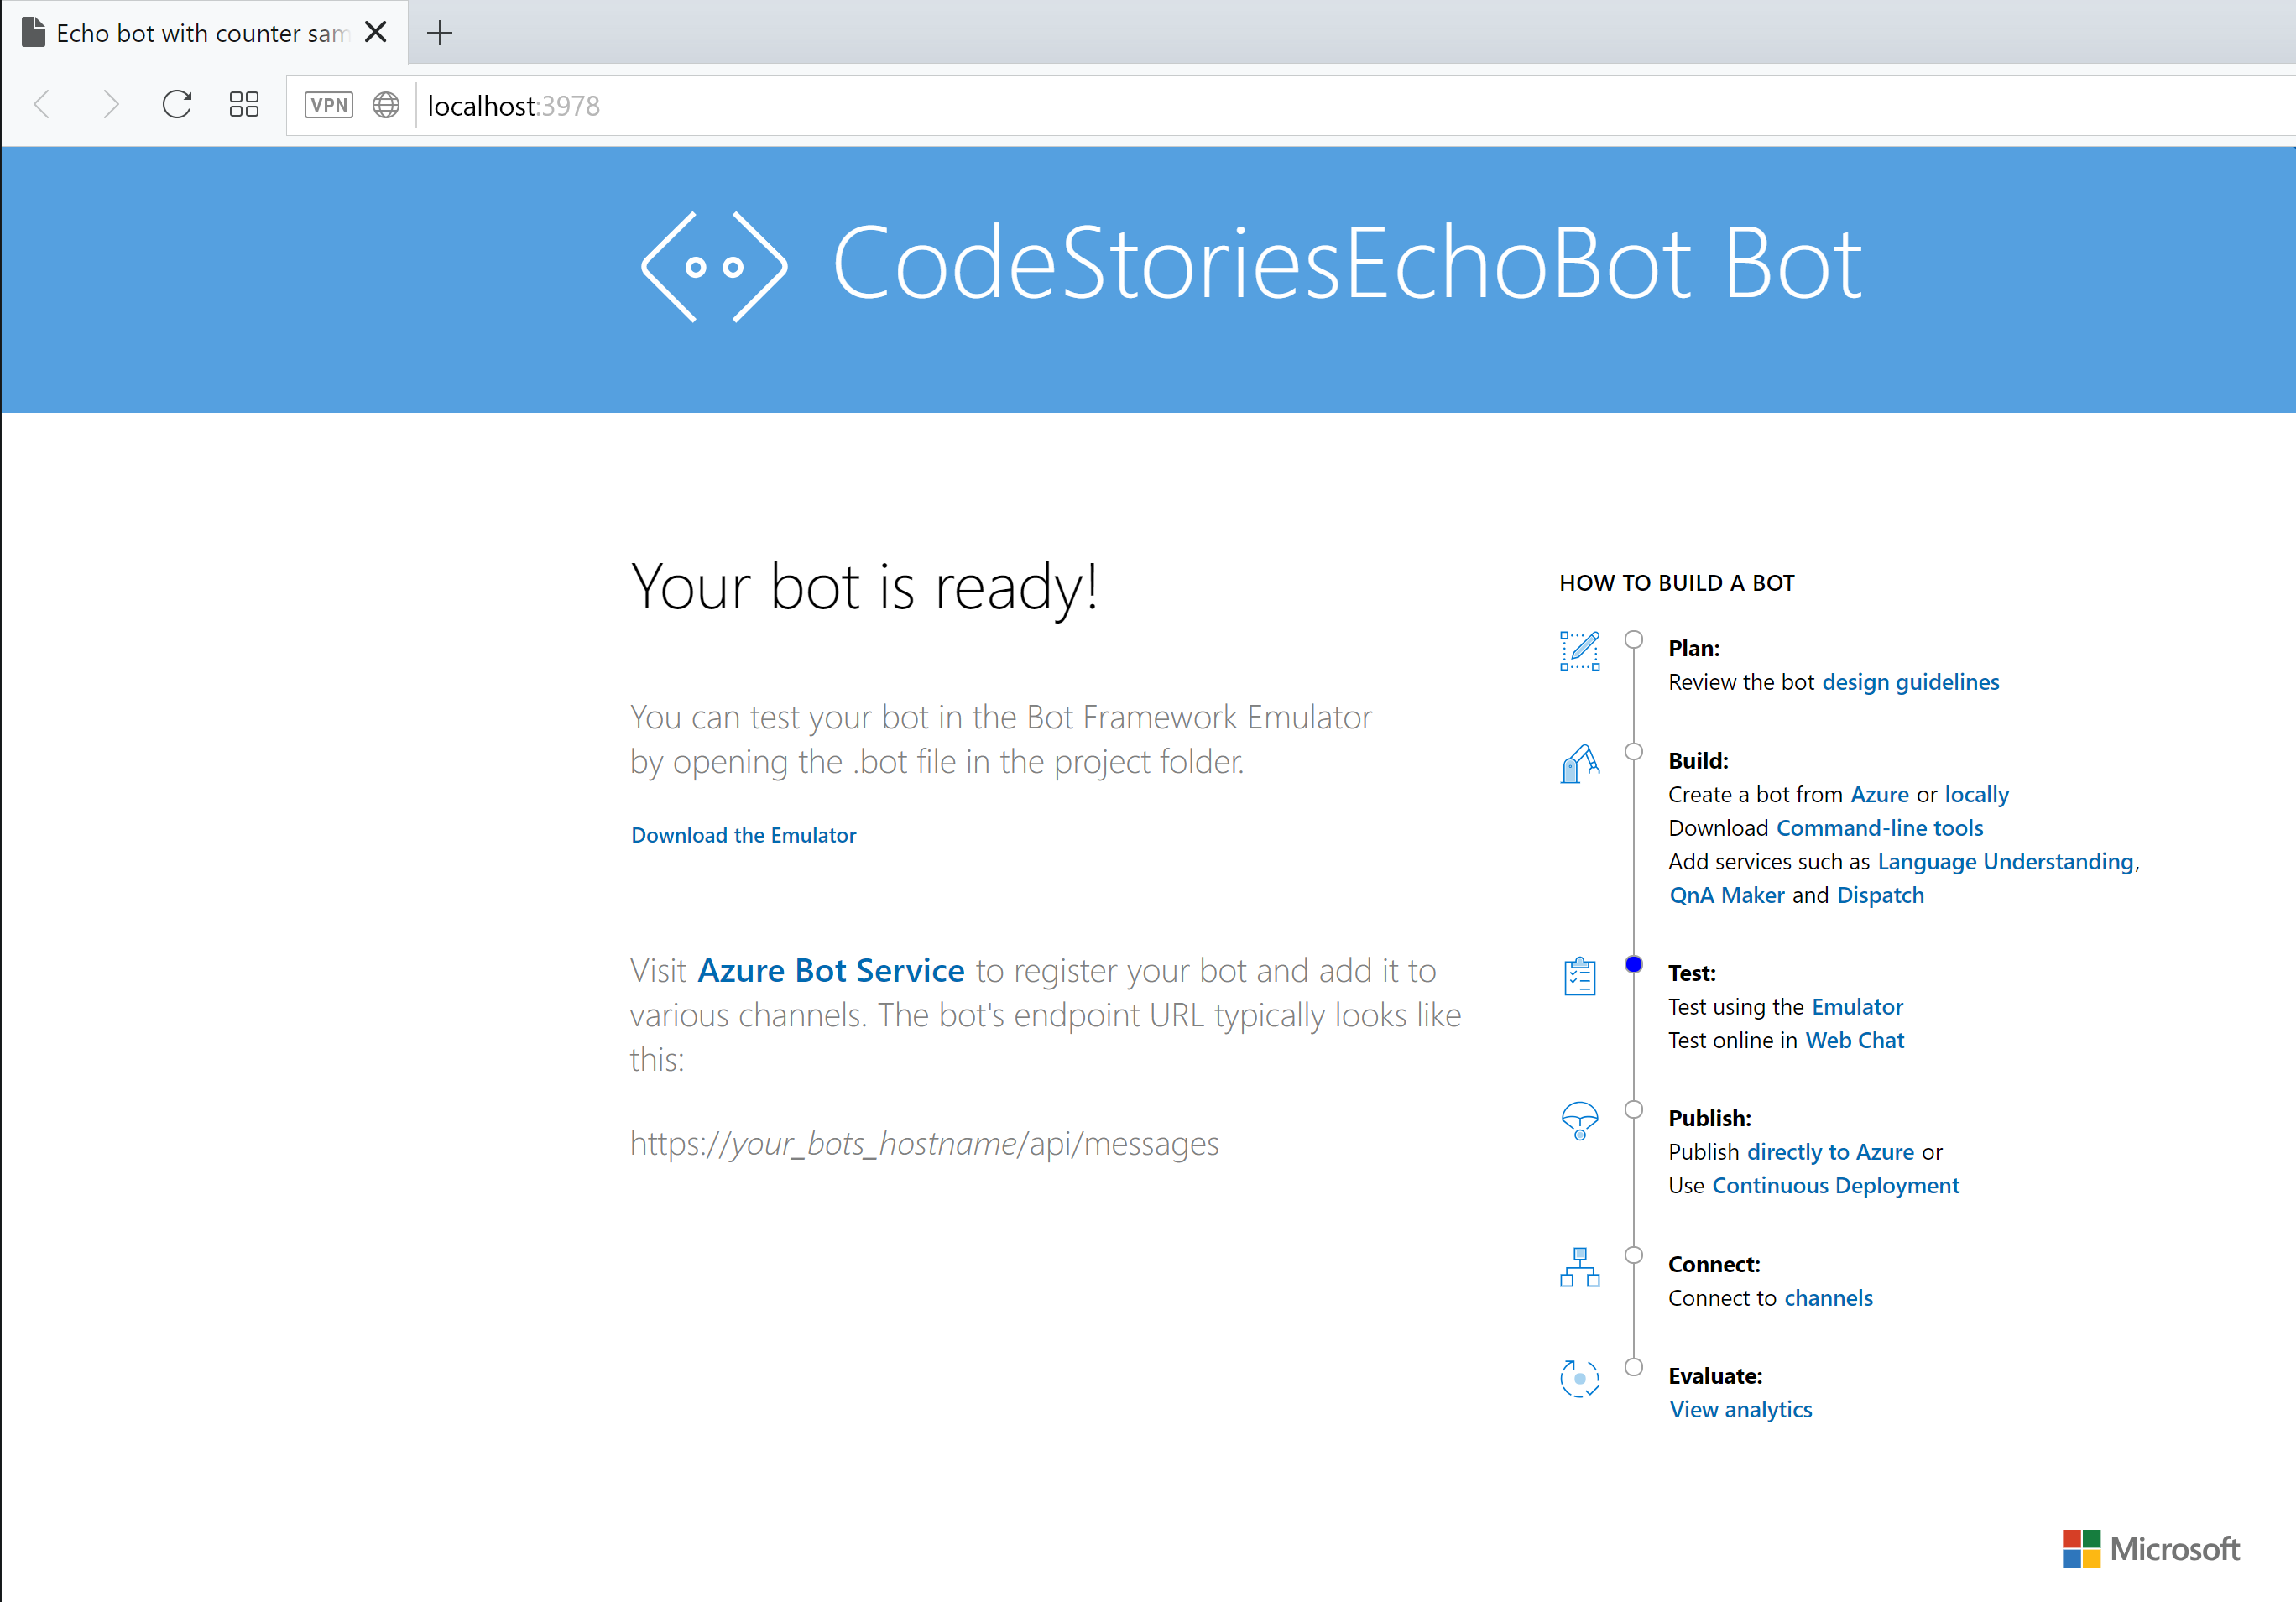
Keep the address on top. Your bots endpoint will be https://localhost:[someport]/api/messages
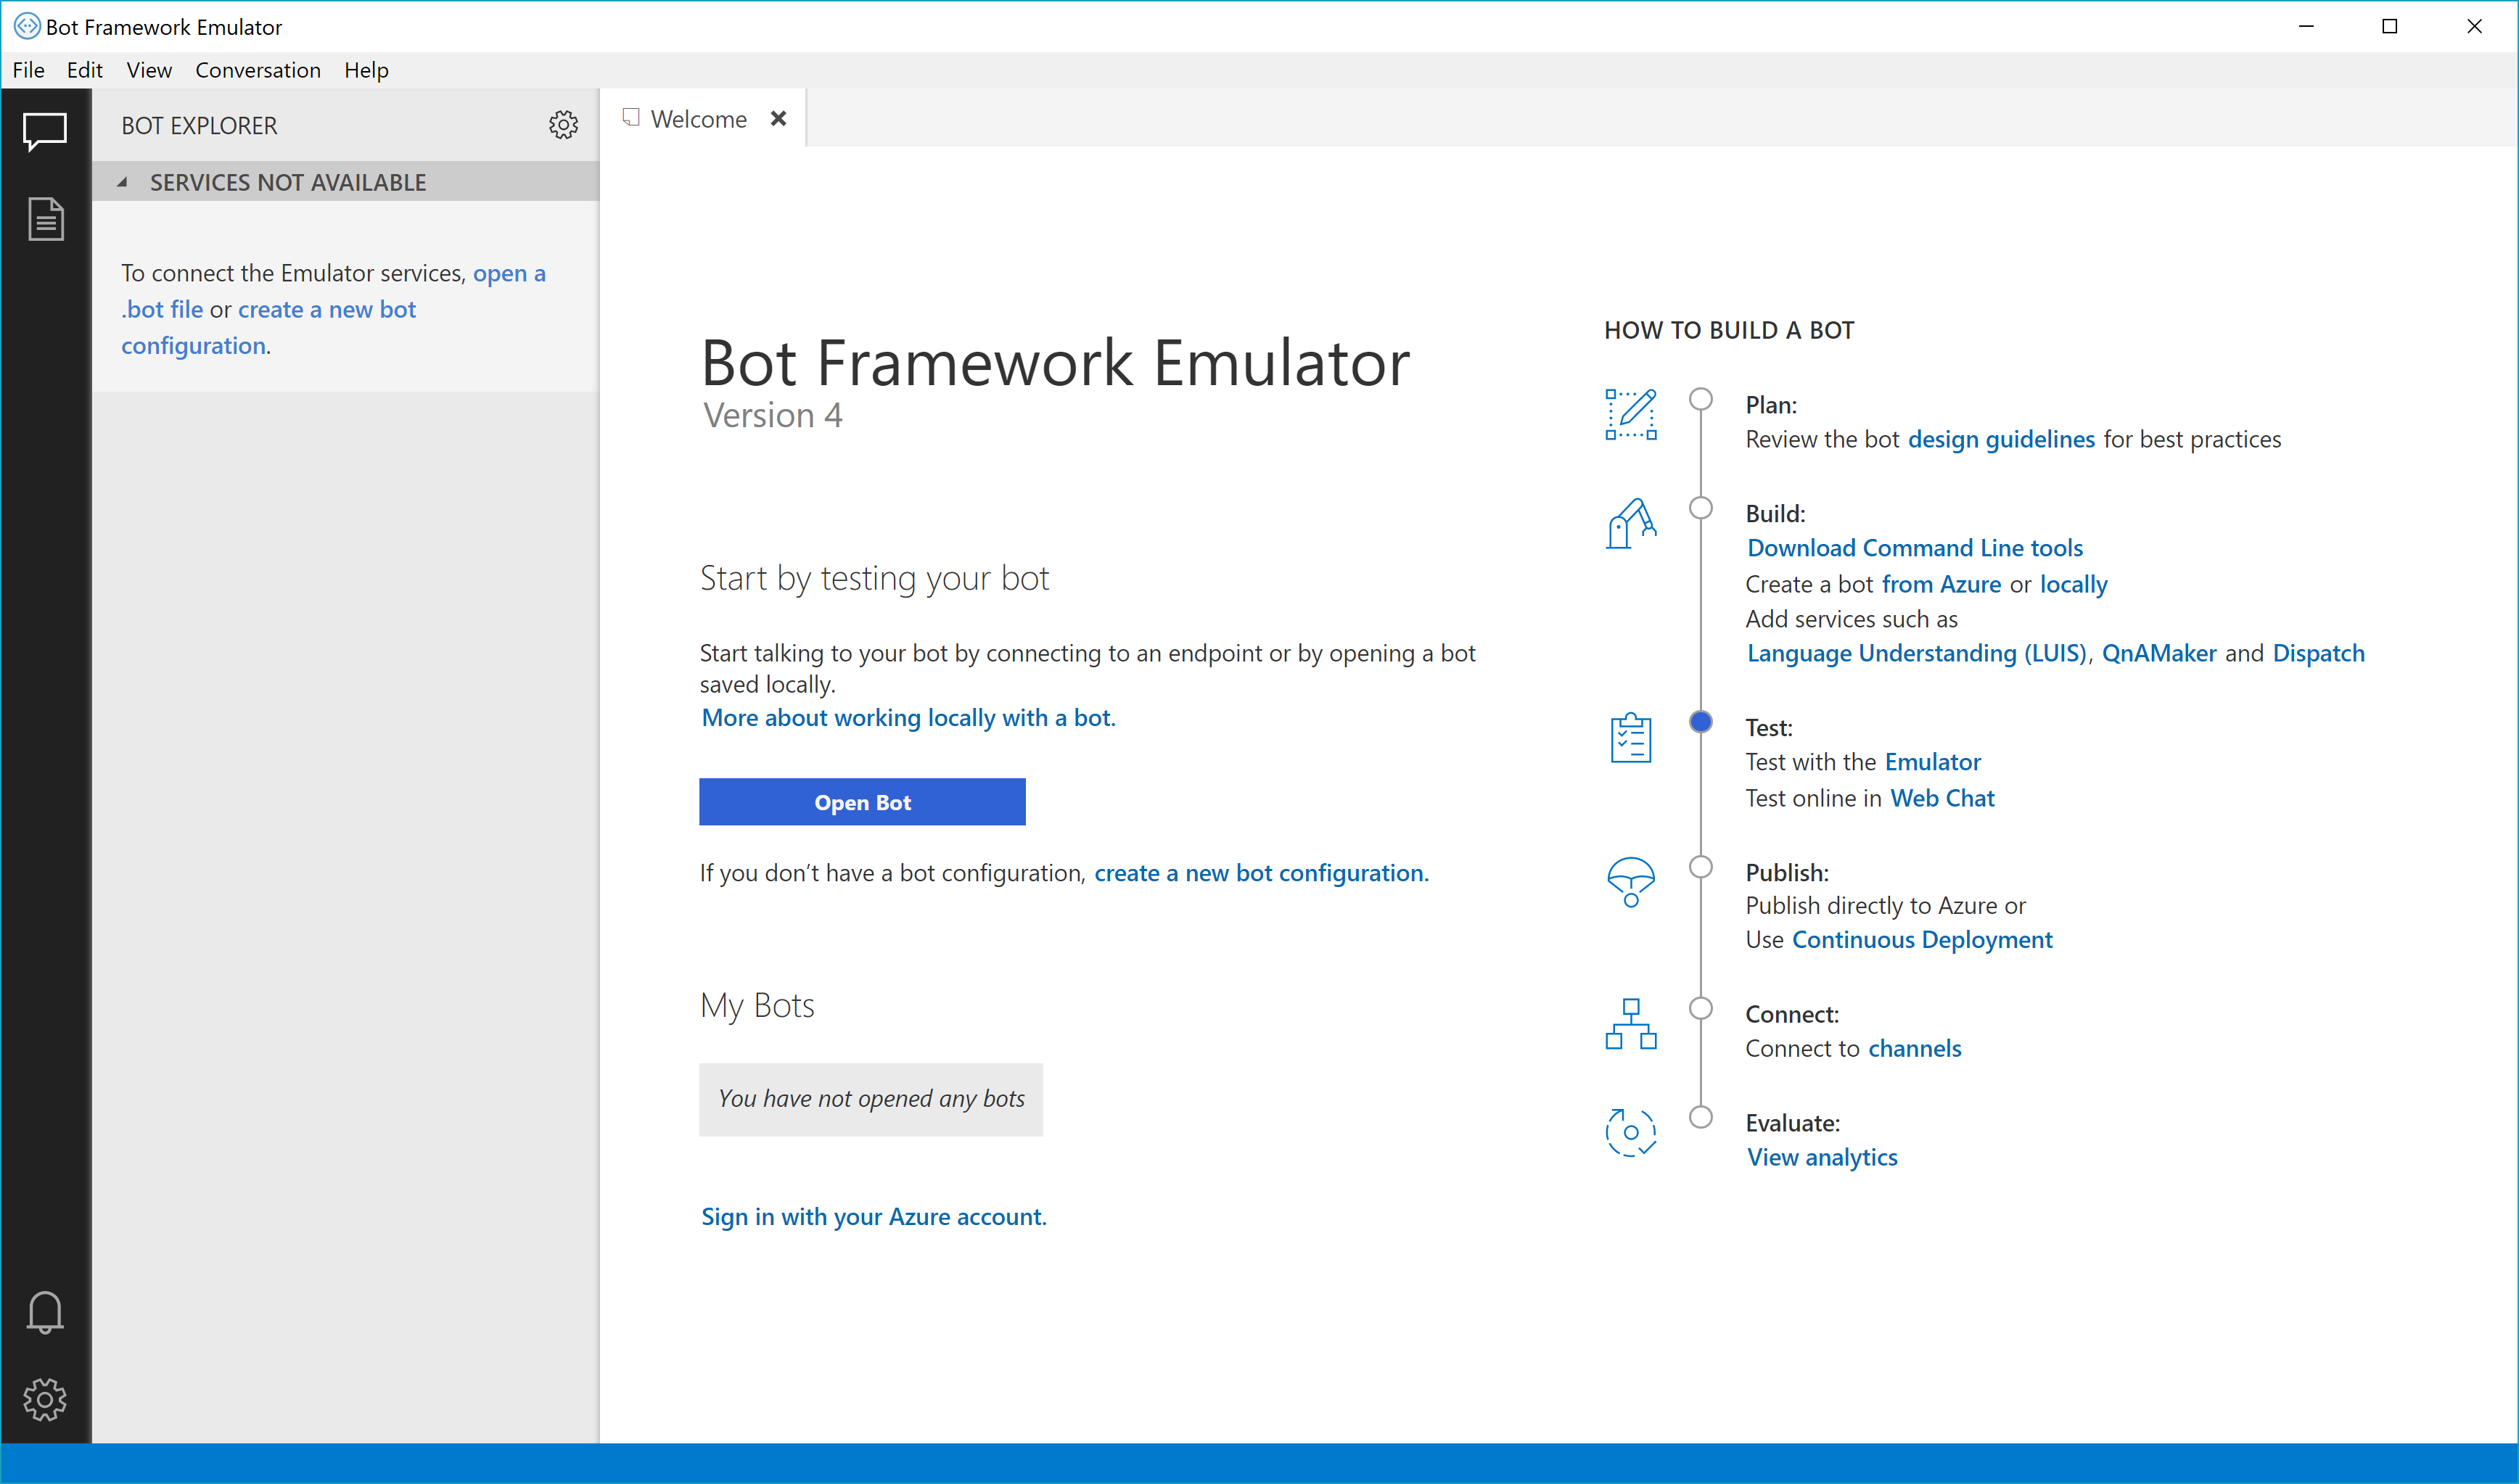
Run the bot using the bot emulator
Run the Bot Emulator and click the open bot button from the main screen to open your bot.
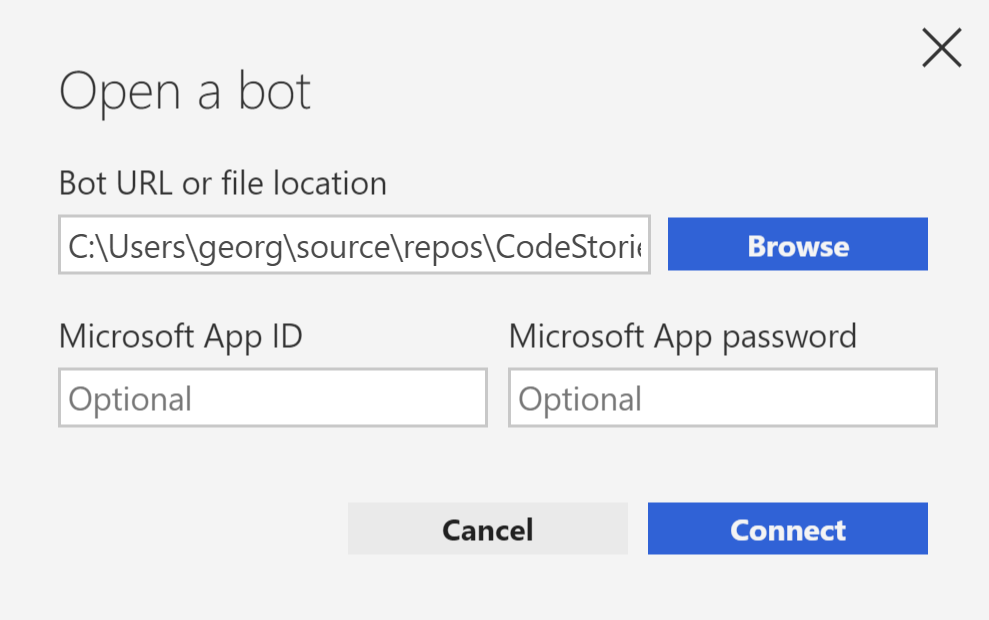
Select the .bot file located in the directory where you created the Visual Studio solution. The Microsoft App ID and Password are not necessary at this point.
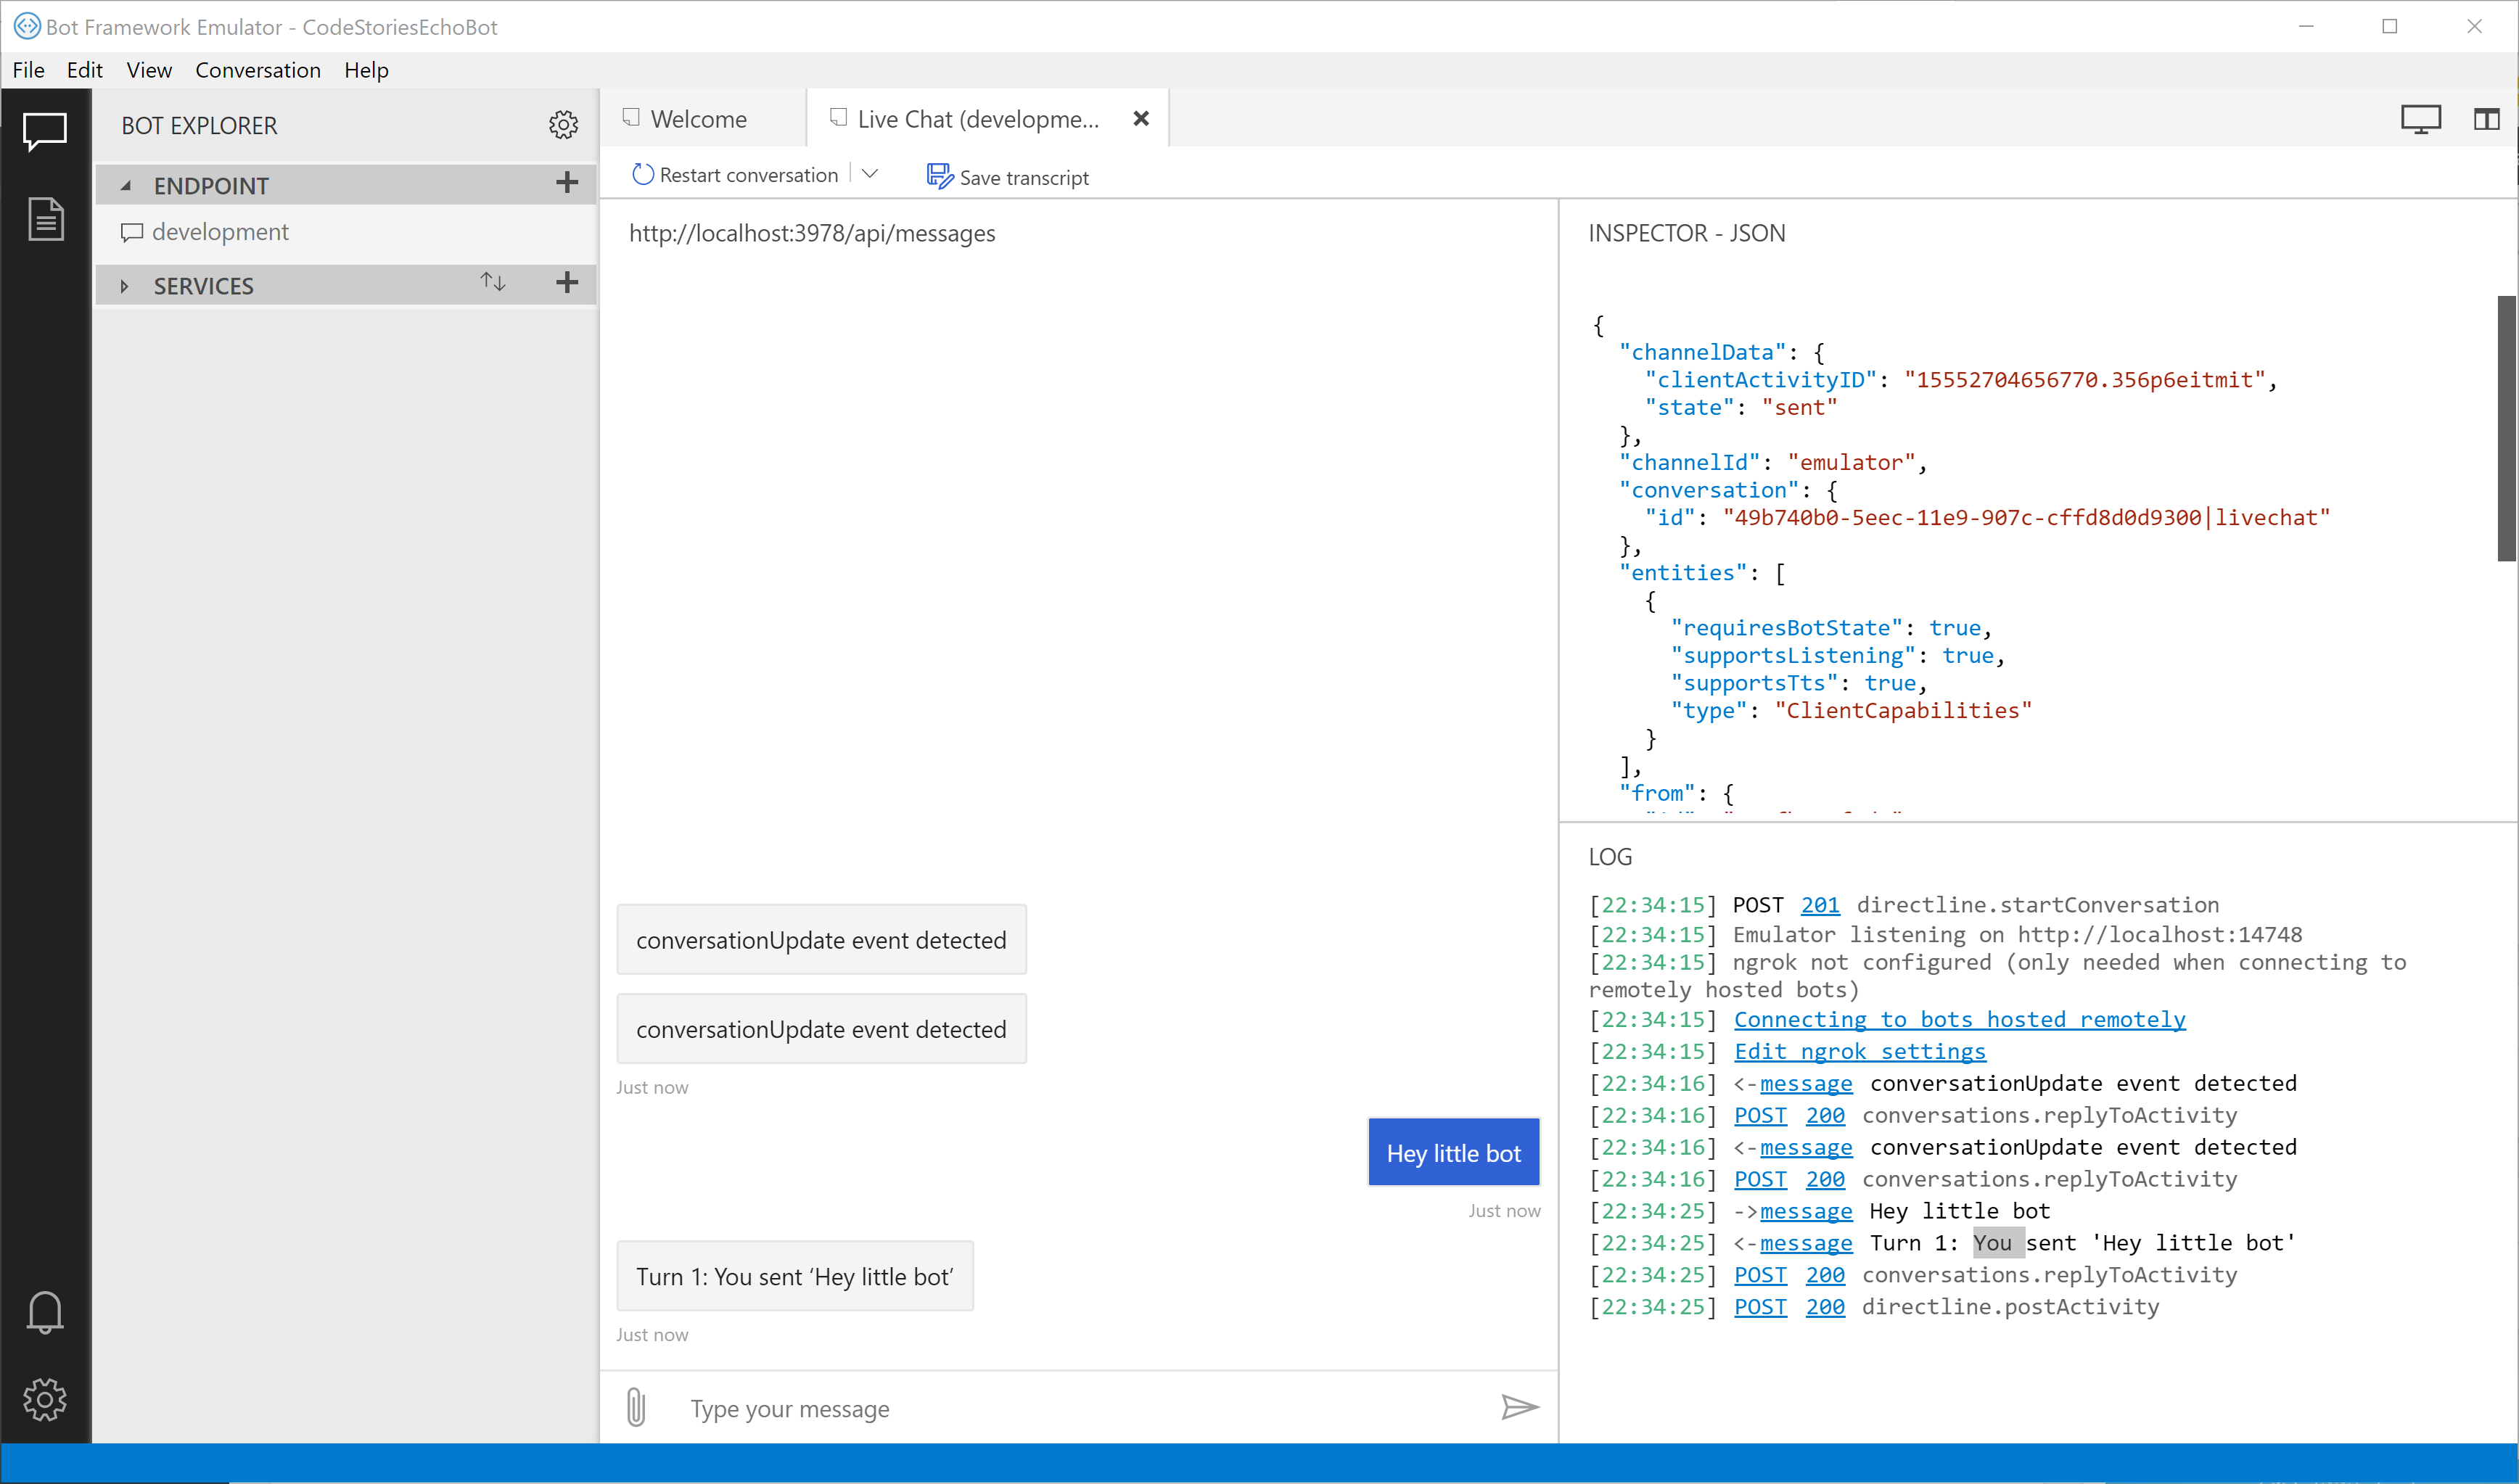
On the next screen you can type something and test your bot. On the right you can see the action log and by clicking on your bot conversation, you can see the request data on the INSPECTOR-JSON panel.
That’s it! You have successfully created and run a simple bot in Visual Studio. In the next tutorials in this series we will see how to integrate more services like LUIS and how to deploy our bot in Azure.
You can find the complete source code in my Github in this repository in the folder 1. Simple Echo Bot