Azure uses .pfx files to bind SSL to your domain. This tutorial will show you how to generate the .pfx file from a custom SSL certificate that you purchased from a trusted certificate authority by using the Windows Certificate Store.
Prerequisites
To complete this tutorial you need to have completed the following:
- Mapped a custom DNS name
- Acquired an SSL certificate from a trusted certificate authority. The file should look similar to this:
-----BEGIN CERTIFICATE-----
OptjltB+ao6oOc8af3EirJPmEaUOIp+zVIS0dJmSyOwIR39Bx0RAf1wP/NZhESmp
...
...
...
k8QDCbHNkqhsOPWv1/RUktkCAwEAAaOCAsAwggK8MB8GA1UdIwQYMBaAFJBY/7Cc
-----END CERTIFICATE-----
- Have the private key you used to sign the SSL certificate request
Generate .pfx certificate using the Windows Certificate Store
Take the Certificate .txt file and rename the extension to .cer. So if you had a Certificate.text file you should now have a Certificate.cer file.
Right Click the File and Select Install Certificate.

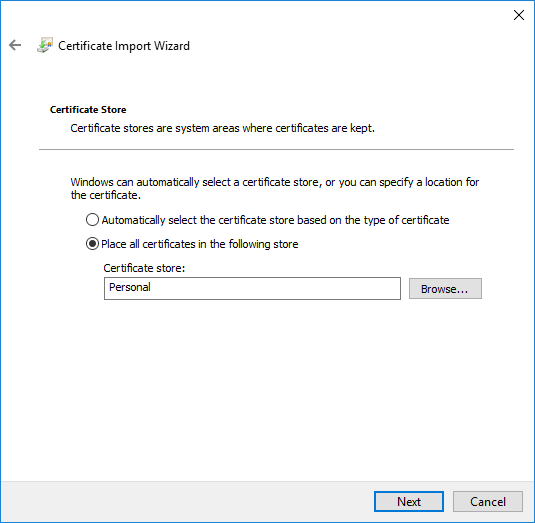
Follow the wizard to install the certificate.
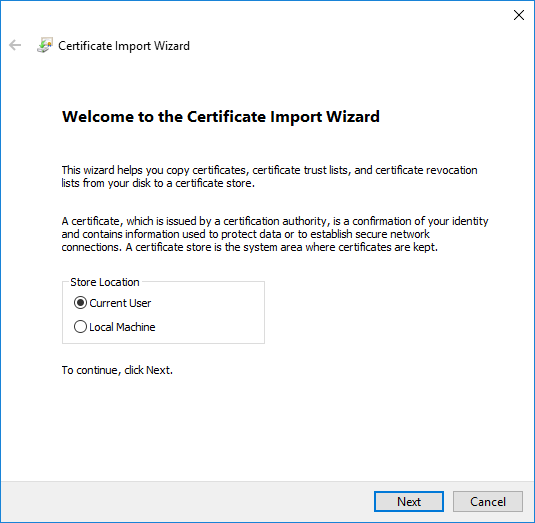
Add them to a Certificate Store you will find easily
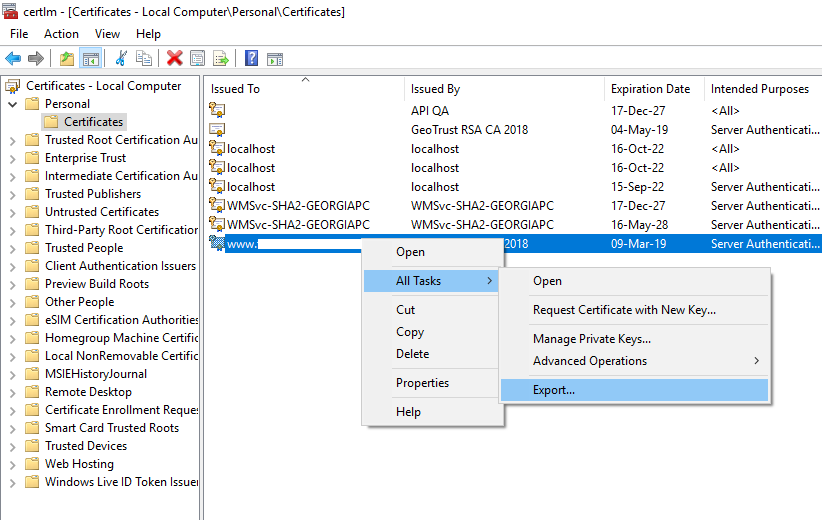
Open the Certificate Manager. Either Search for Certificate and click on Manage User Certificates or follow the bellow steps to open the Certificate Manager:
- Open the MMC (Start > Run > MMC).
- Go to File > Add / Remove Snap In
- Double Click Certificates
- Select Computer Account.
- Select Local Computer > Finish
Then, right click the certificate and choose export:
Follow the wizard to export the certificate to a .pfx file.
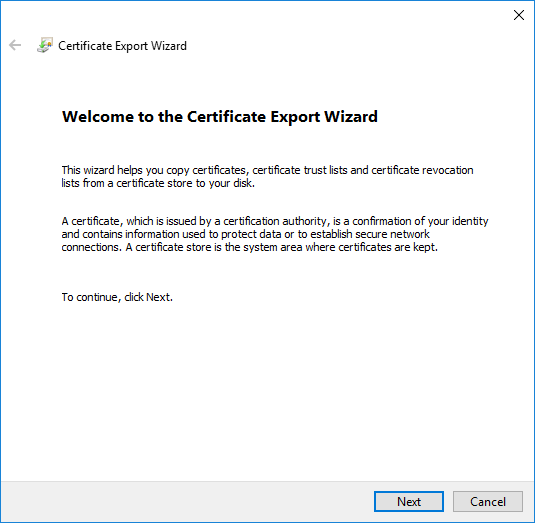
Choose to export the private key

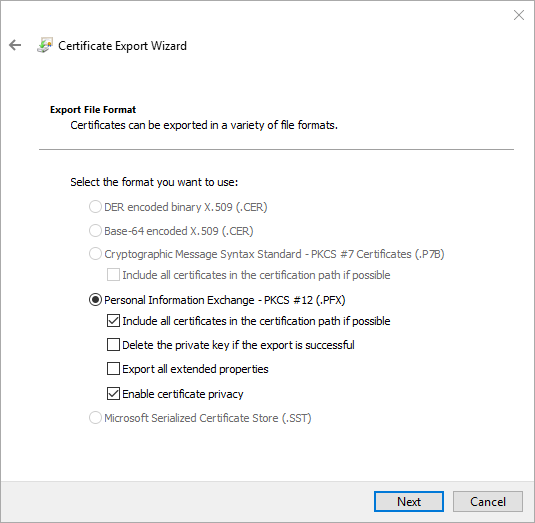
Choose the .PFX file in the
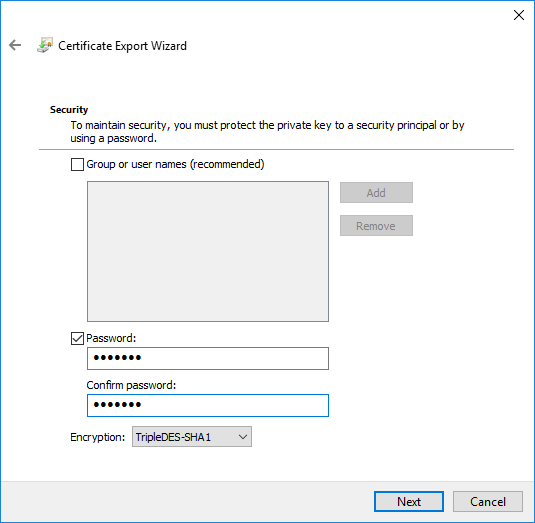
Add a strong password
And finally Save the .pfx file.
The .pfx generation is complete. Now you can use the .pfx file to bind your certificate to your domain in Azure.


